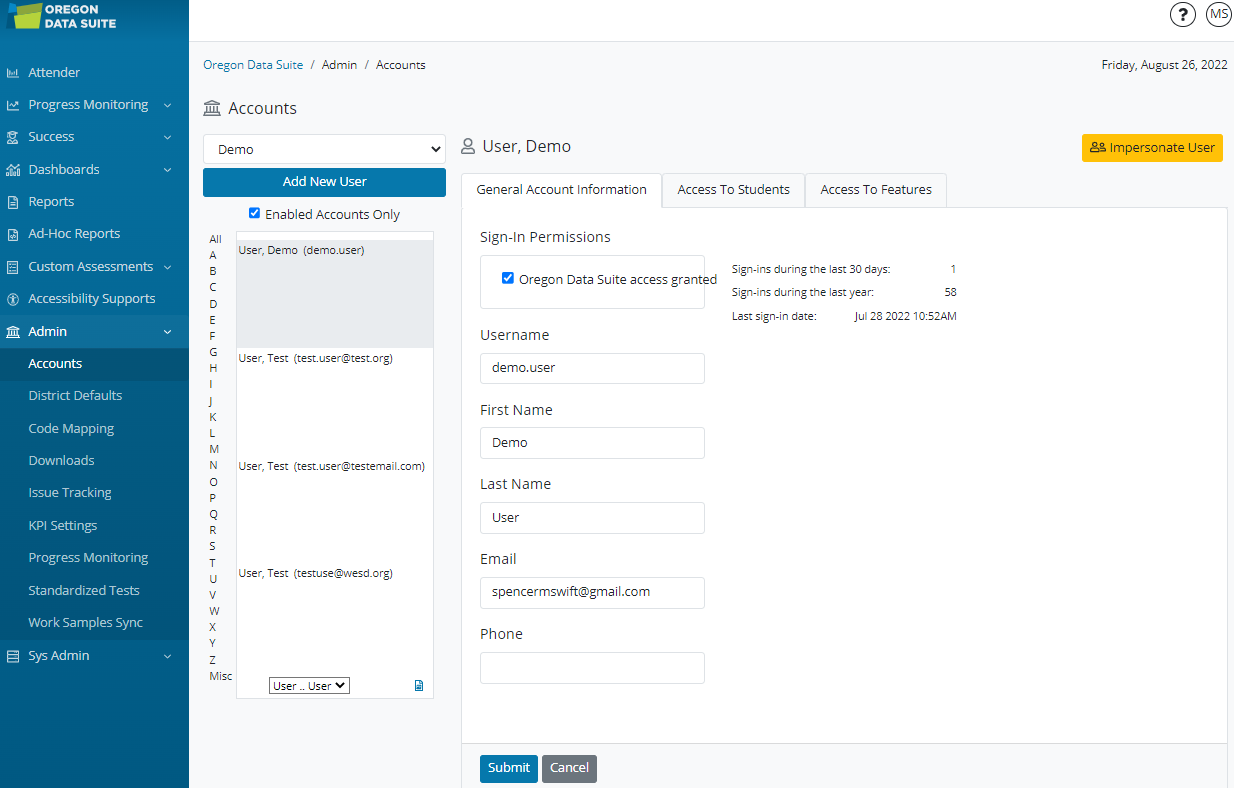
To change account information, access to students or features go to
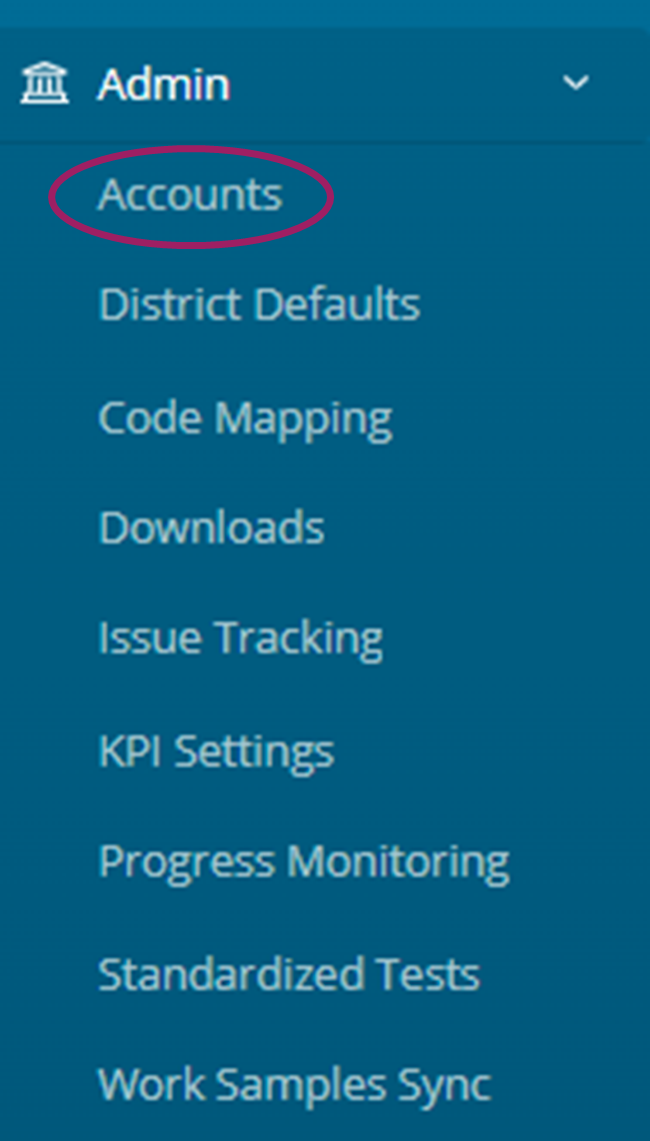
Admin>Account
-
Select the name of the user you want to make changes to by selecting their name. To view their current account information, select the General Account Information tab, Access to Students tab, and Access to Features tab.
-
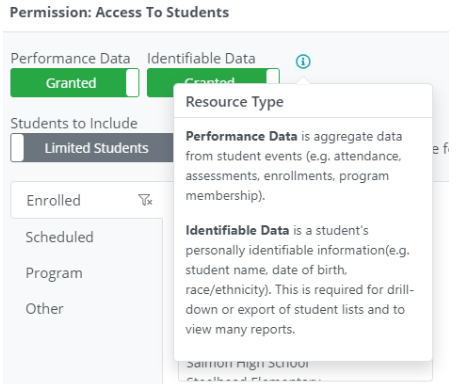
Rules auto-created from teacher schedules can’t be edited. To grant additional access rights, go to the ‘Access To Students’ tab and click on +Permission to create a new rule. When creating the new rule, make your selections. Most of the time you will only need to use the Enrolled filter to grant access to a new building. In some cases, you may be granting specific permission, so you may need to make selections from Scheduled, Programs, or Others. Make sure you ‘Save’ when you have completed your selections.

-
Users with access to Performance Data and Identifiable Data can see student level data and can drill down. Users with access to Performance Data only, will only be able to view aggregate data and will be unable to drill down.
-
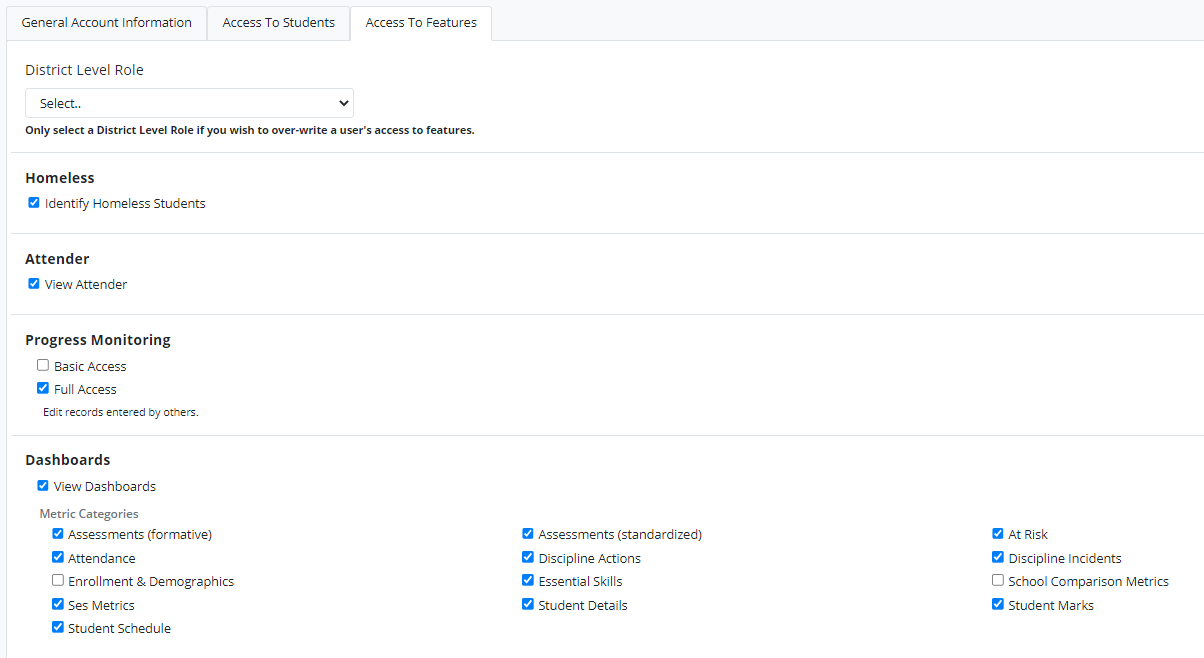
The last tab you will need to complete is for ‘Access To Features’, once you have made your selections, this page will automatically save for you.
Creating a User List
-
Export your current list of active users by checking the ‘Enabled Accounts Only’ and clicking on the blue export icon under the list of names on the right. This will allow you to locate accounts that need to be disabled.
Go to Admin > Accounts.
Export your current list of users by clicking the ‘Enabled Accounts Only’ box and clicking on the blue export icon under the list of names on the left.
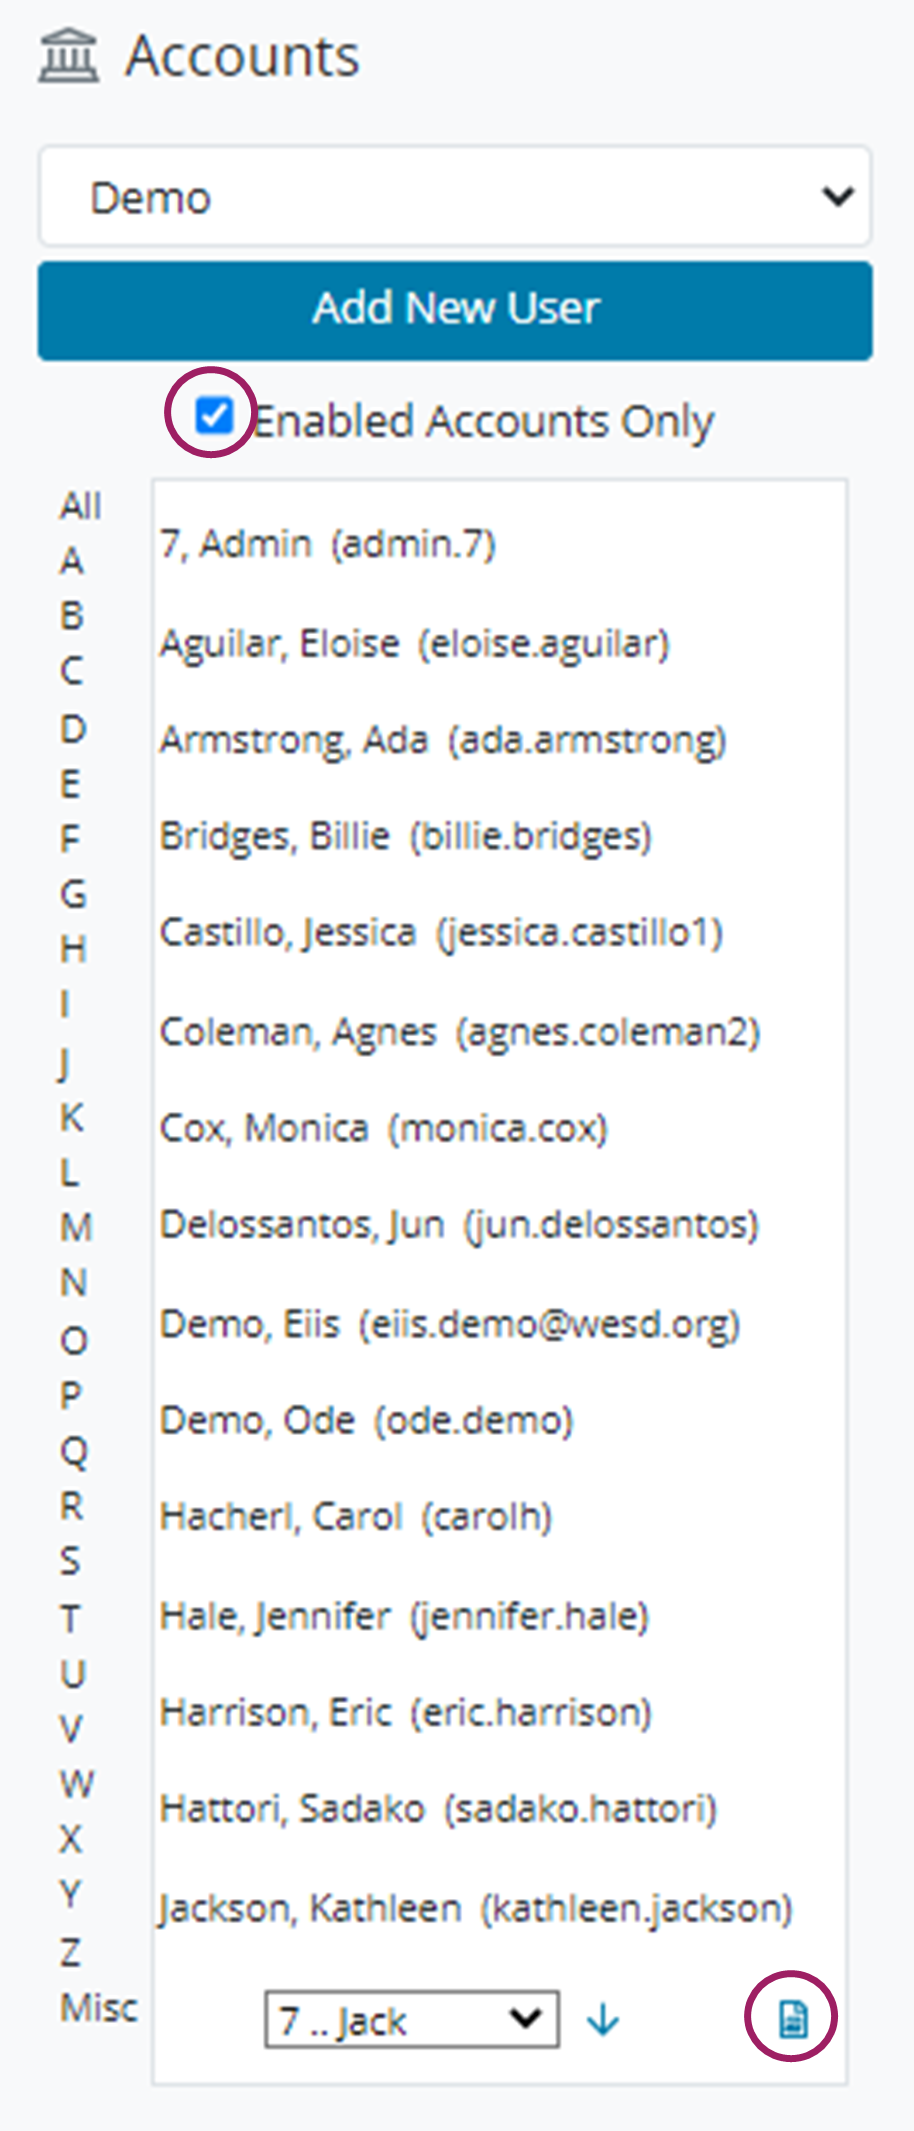
By exporting this list it will allow you to locate accounts that need to be disabled.
-
To view all accounts, active and inactive, leave ‘Enabled Accounts Only’ unchecked.
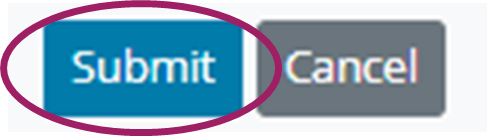
Staff with manually created accounts no longer with your district can be disabled by clicking on their username, clicking and unchecking the ‘Oregon Data Suite access granted’ box on the ‘General Account Information tab, and clicking ‘Submit’ at the bottom of the page.
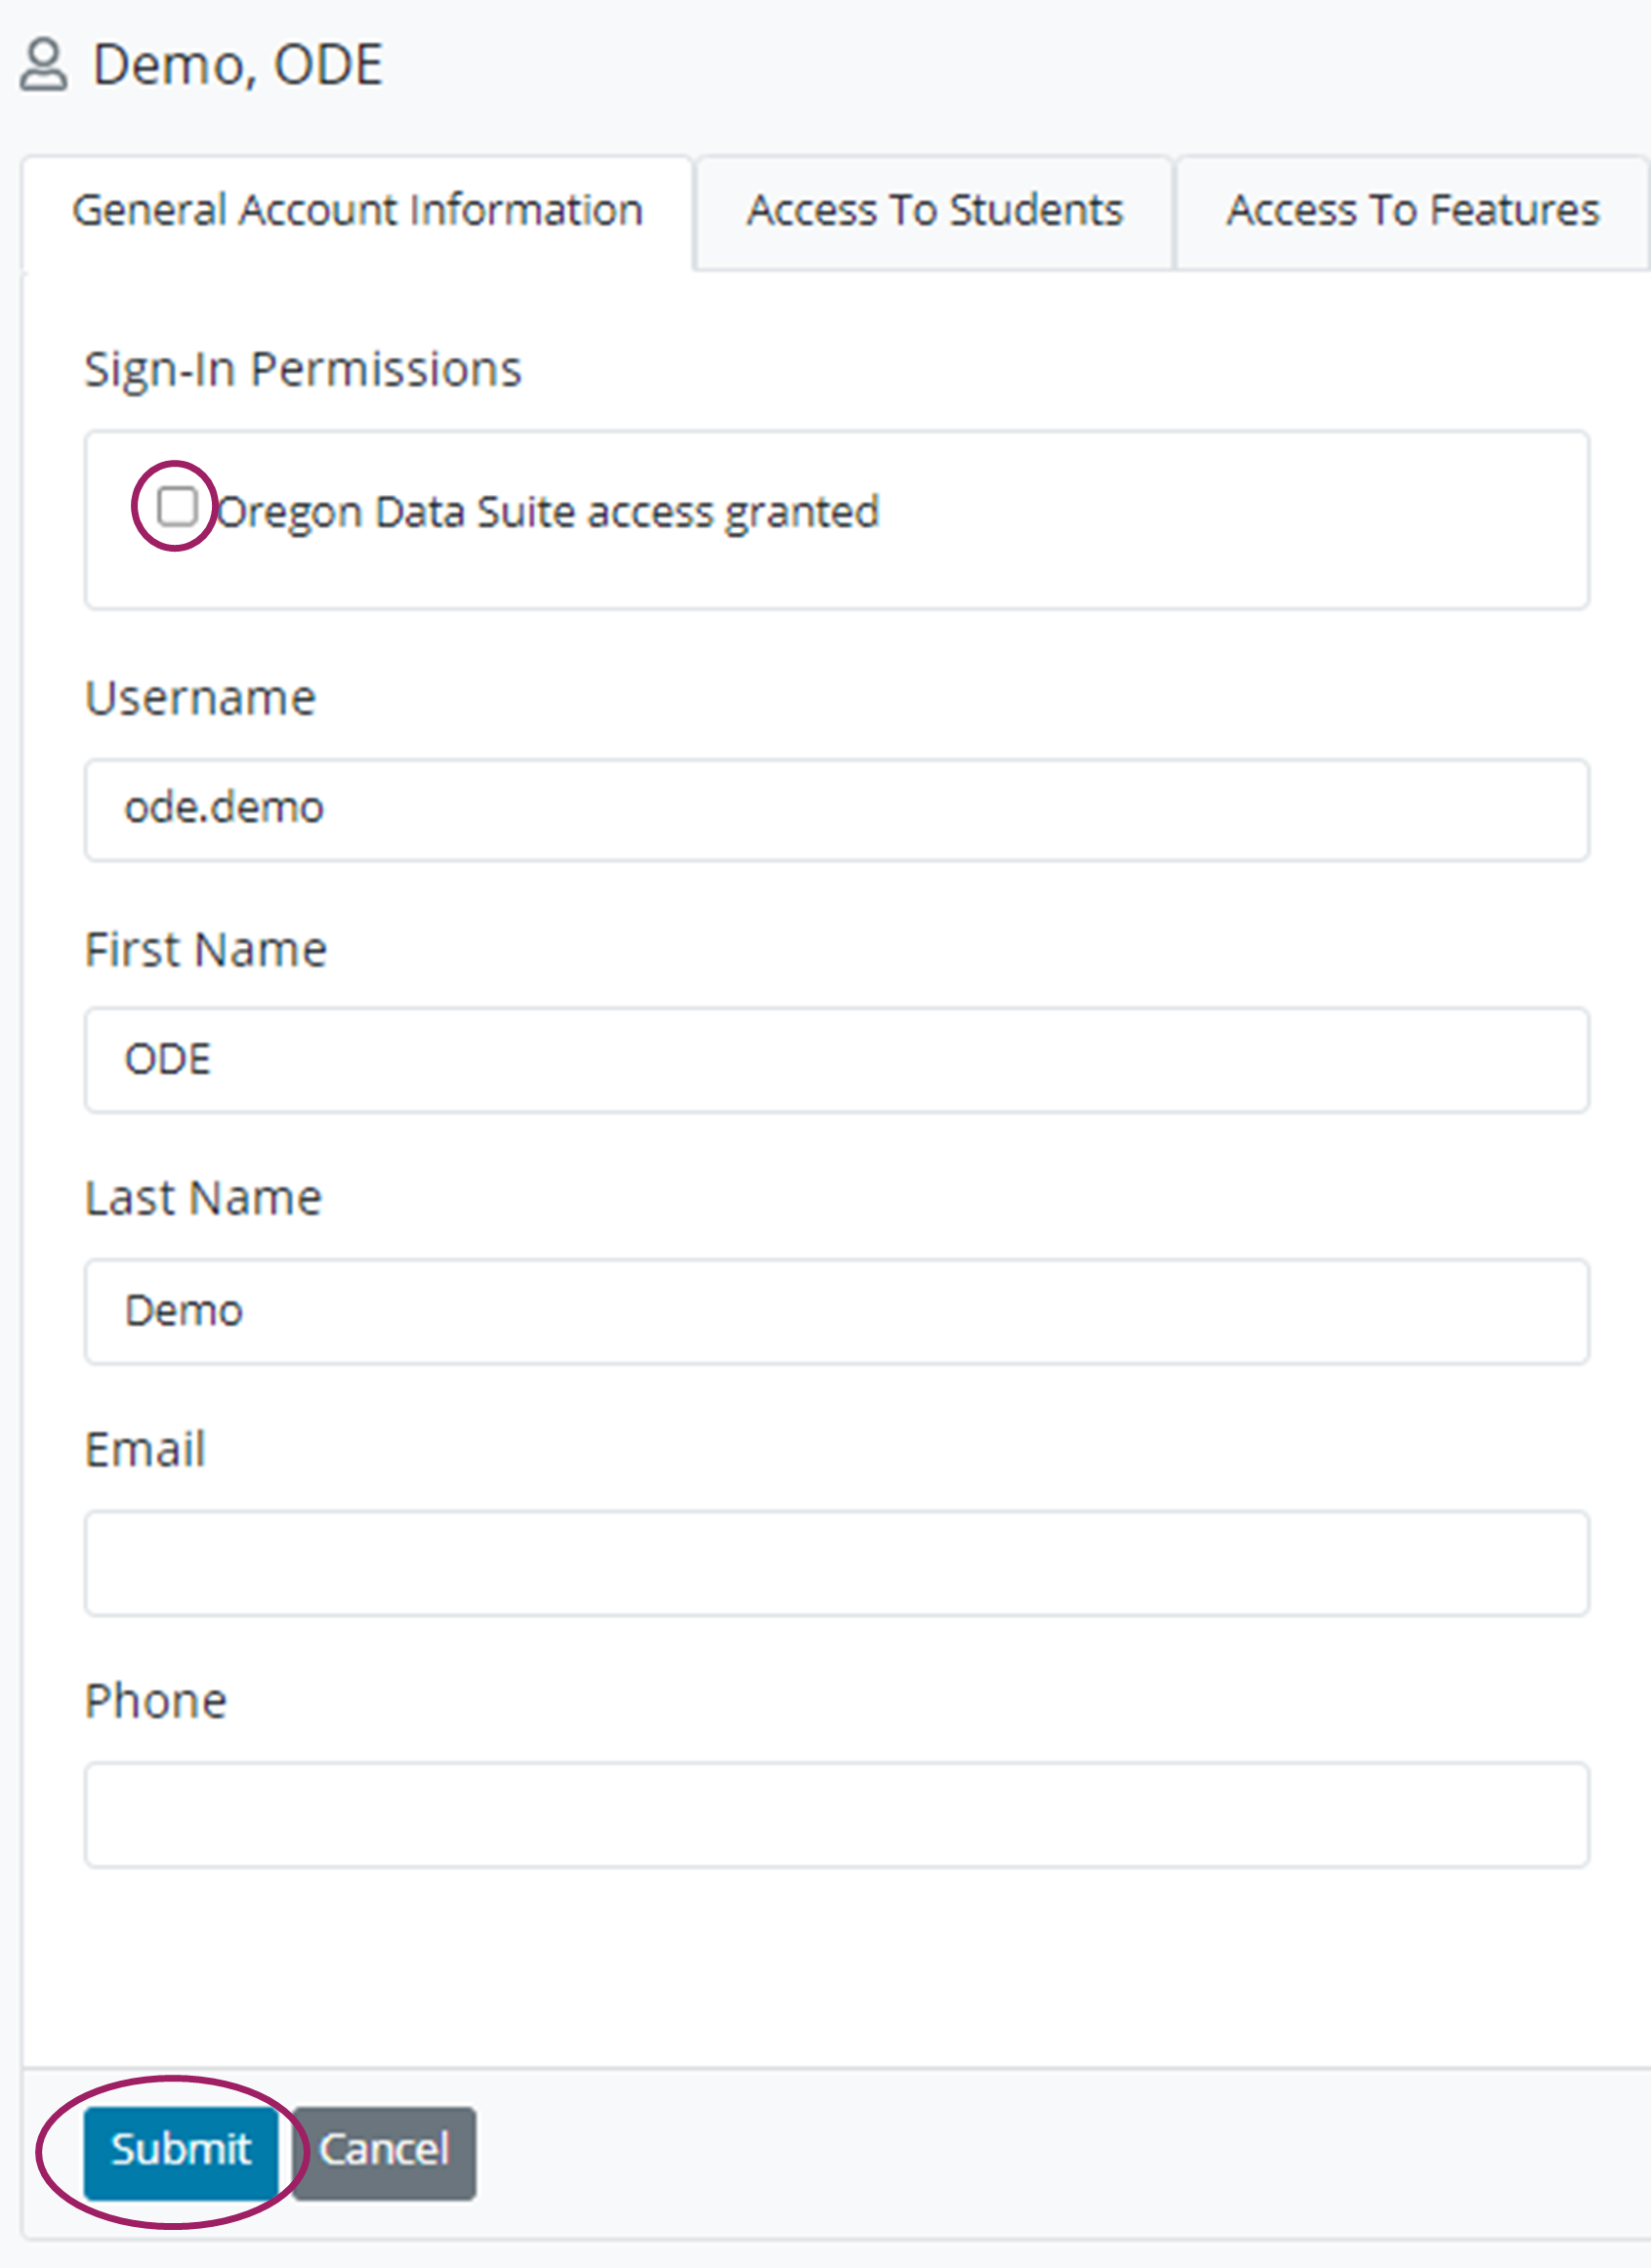
This works for any account that was manually created.
To disable or enable an account that was auto-created, select the ‘Manually maintain’ box and check or uncheck ‘Oregon Data Suite access granted’.
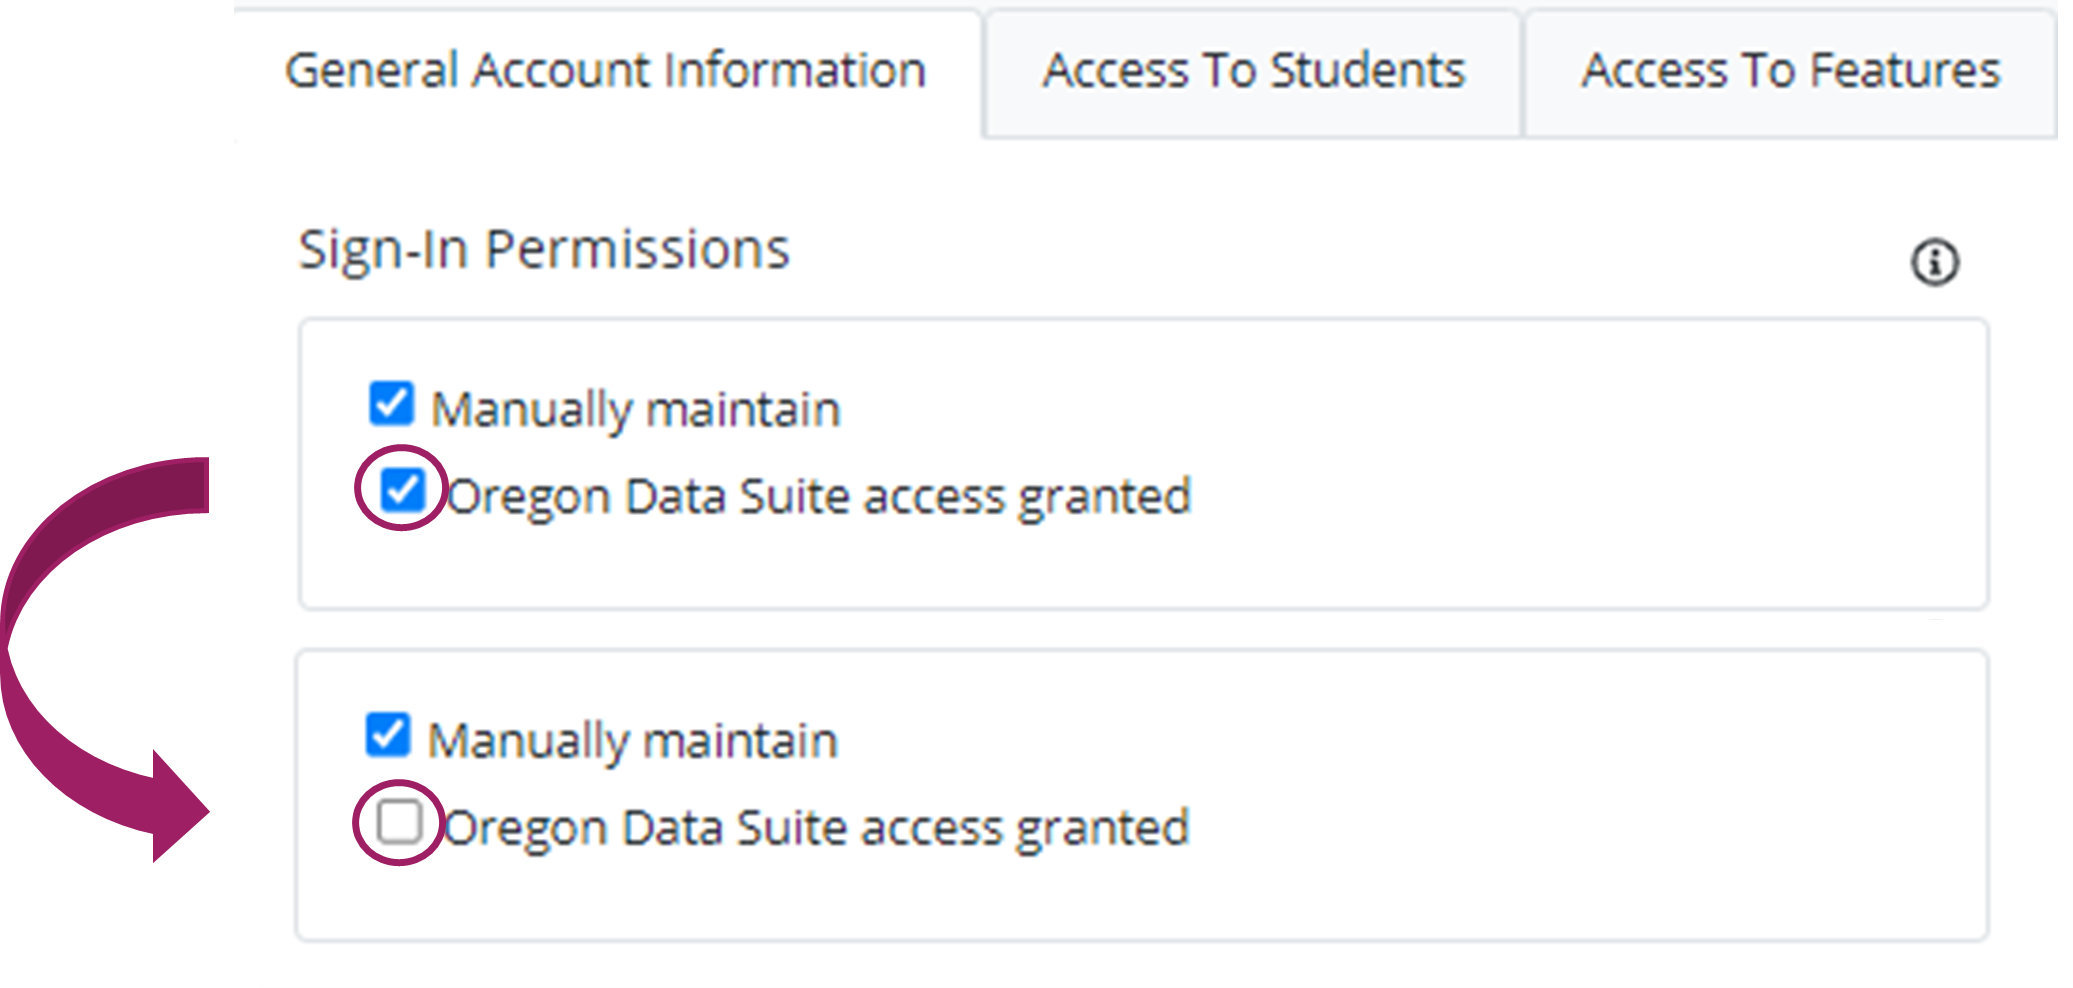
Click ‘Submit’ once your selections are complete.