Student Schedules File
Start by looking at the Student Schedules download. Go to Admin>Downloads.
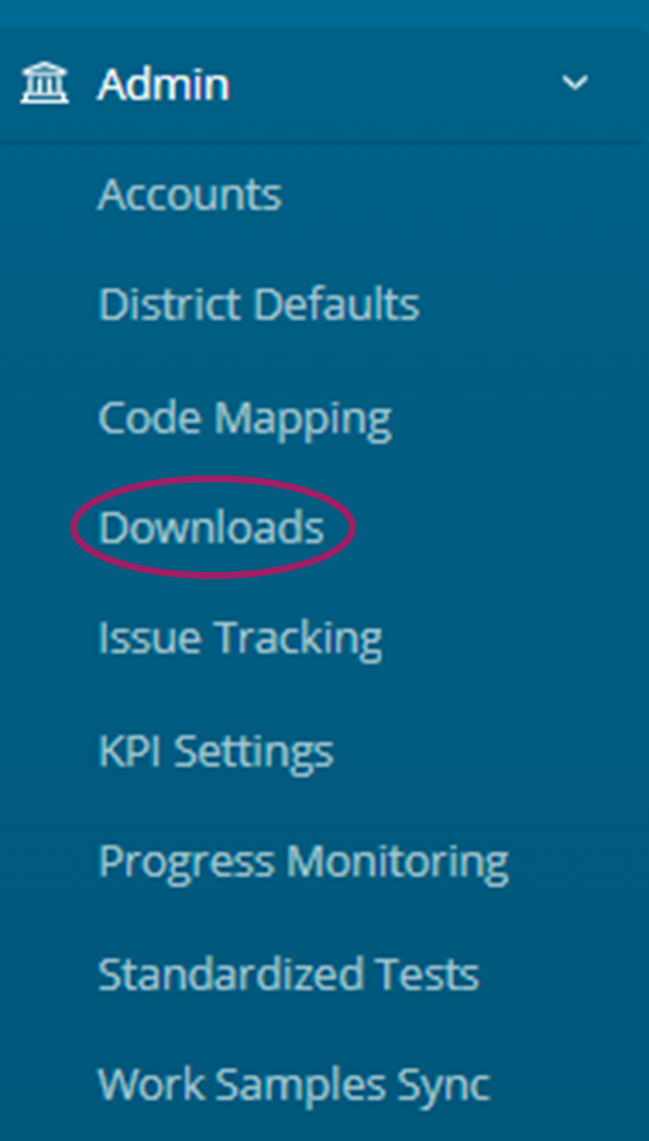
Click ‘Student Schedules’.
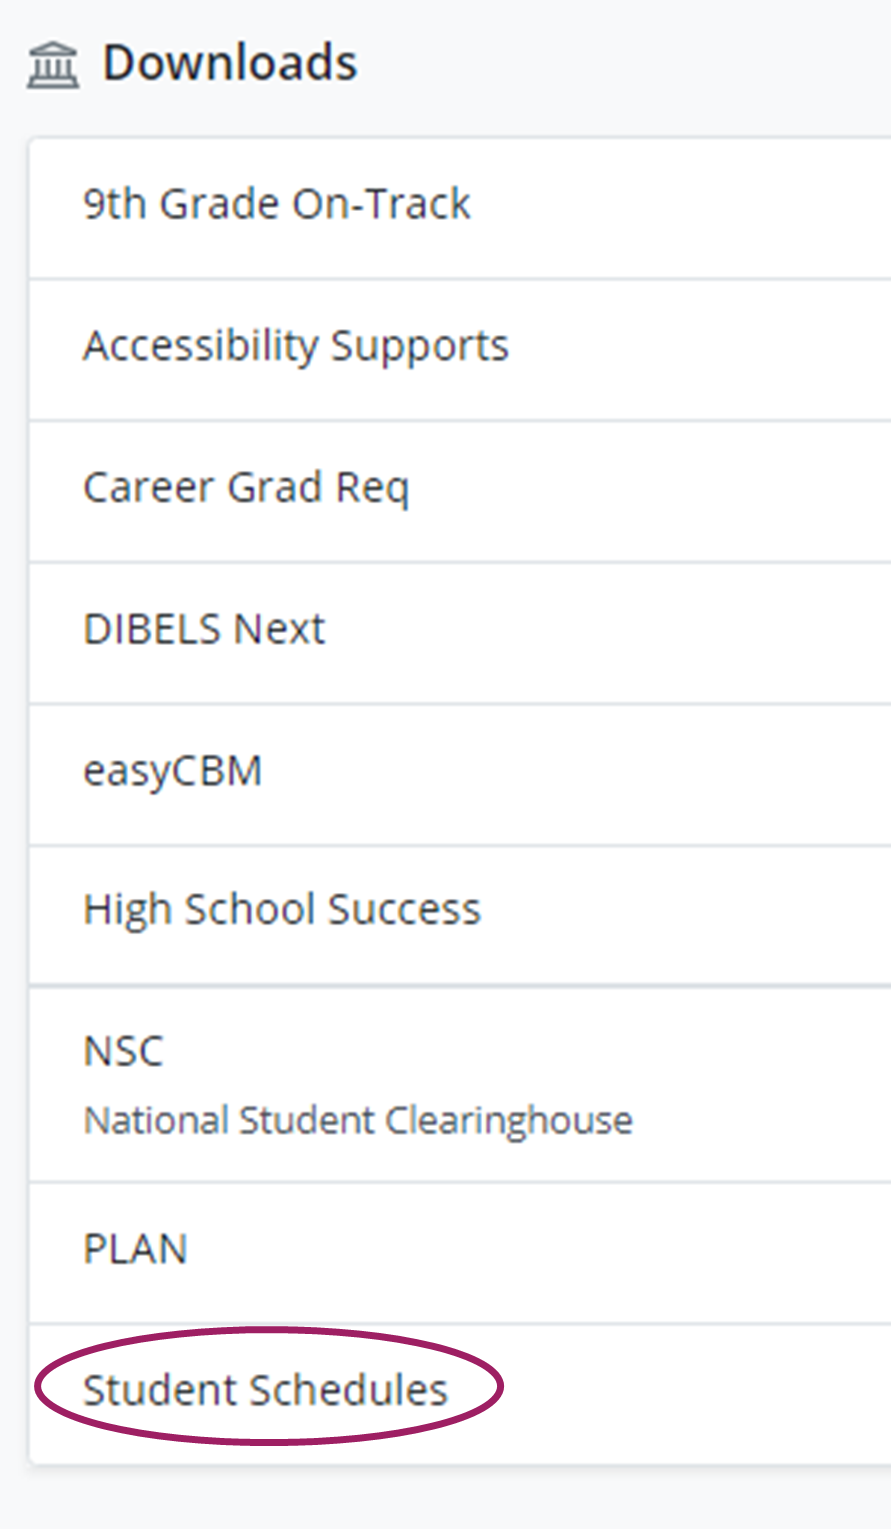
You will see files for each school and a file that contains the entire district.
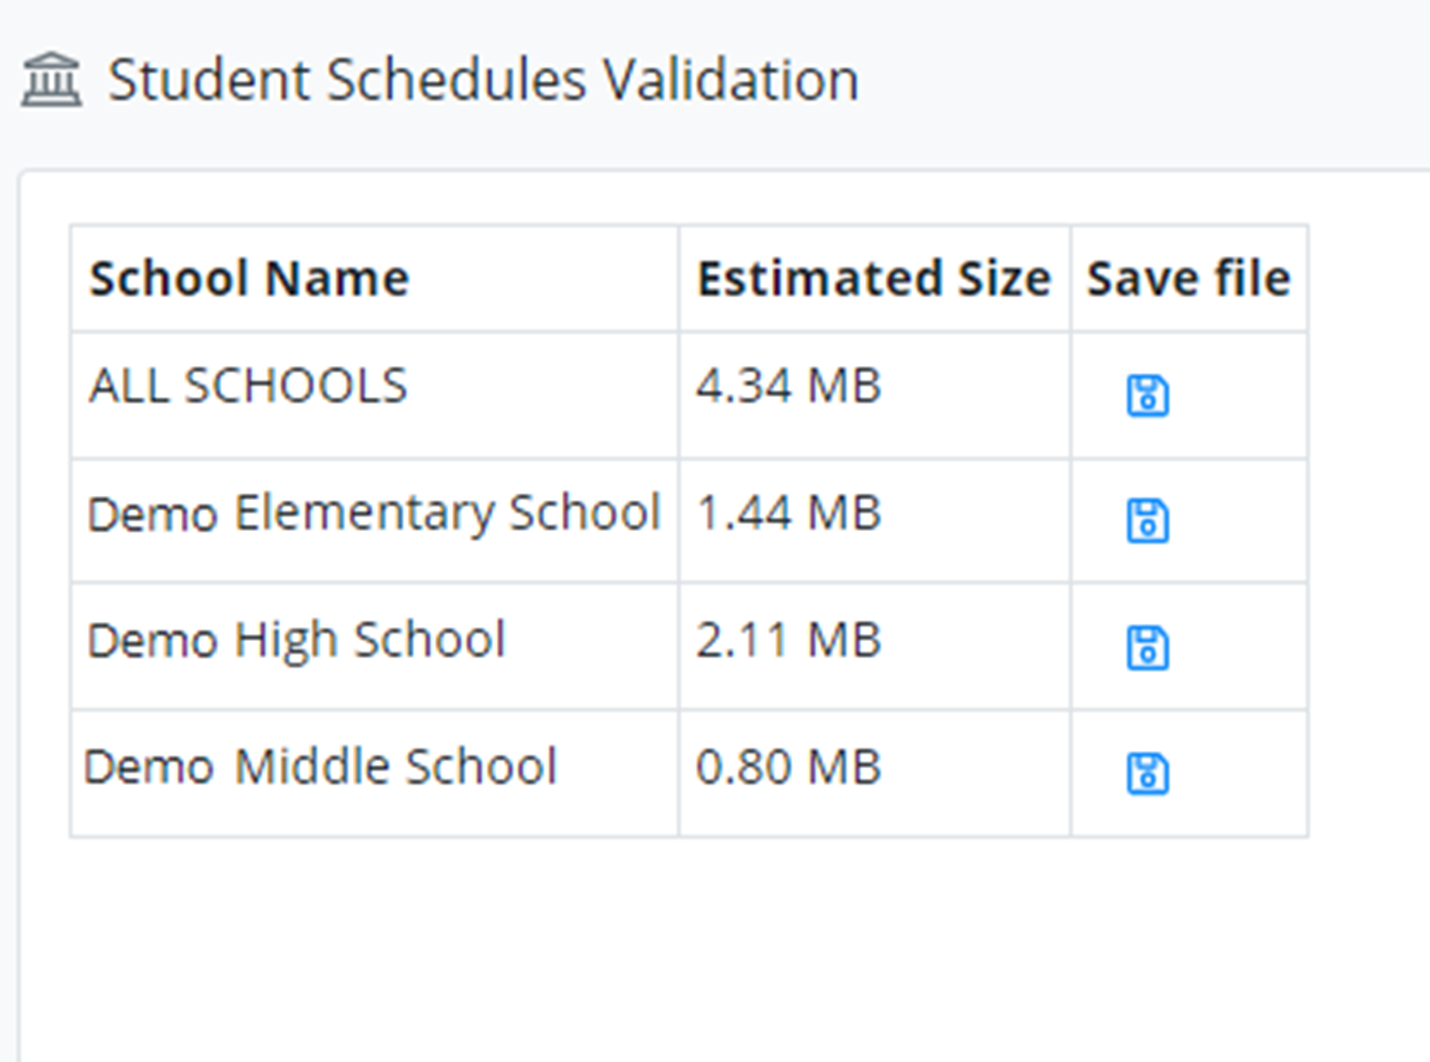
Click the file you want to view.
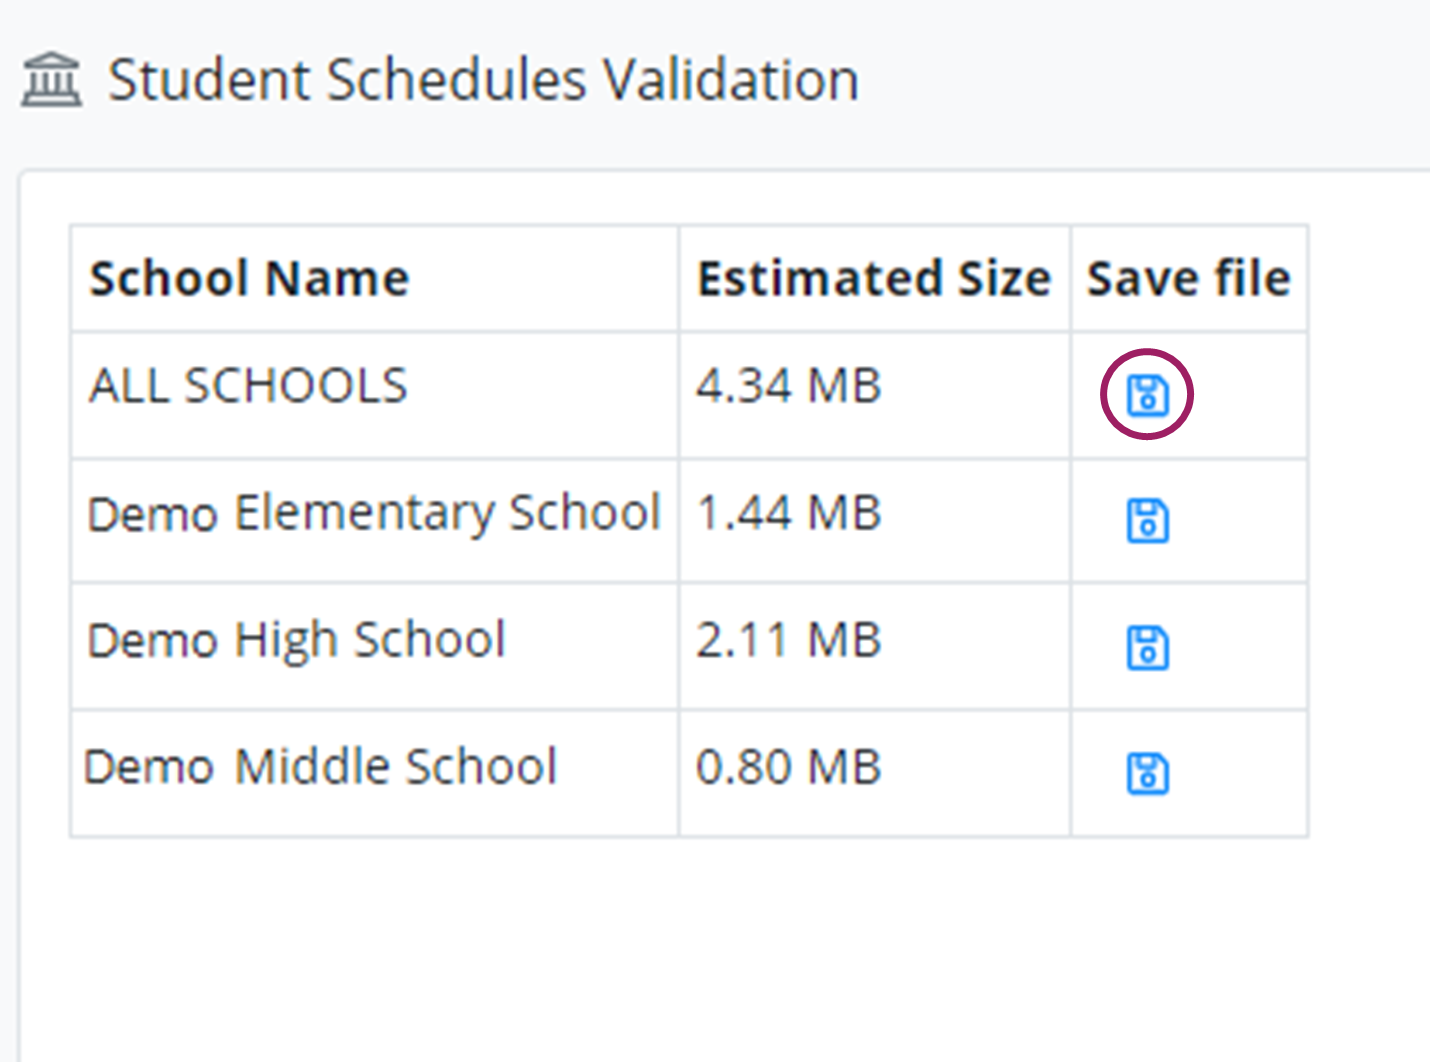
File will automatically export to Excel.
Once you open the exported file, you will see multiple tabs at the bottom, select the ‘Students’ tab. Filter on each column to check the information.

Please submit an issue if you find any missing or inaccurate data.
Dashboard
Check Enrollment and Demographics, Attendance, and Discipline metrics. Remember to export these into Excel using the metric menu located in the upper left corner of each metric. Use the metrics that are the best fit for comparing data from your Student Information System.
Select from your predefined filter list to select the data that works best for you. It may be easier to validate data by looking at an individual student. Click on ‘Students’ to get your student list.

You can select a student from the list by clicking on their name or by entering a student name, SSID, or District ID into the search box located in the ‘Name’ header. When you’re done looking at a single student’s data, click on ‘Students’ to get back to view all of the students you were filtering on.
Mapping
This is a really important step and should be checked yearly.
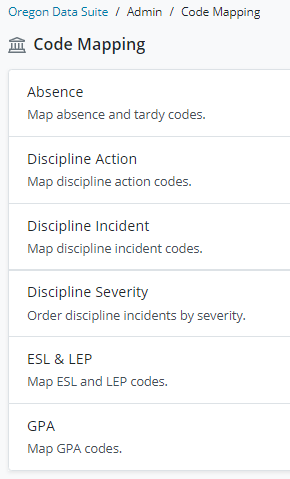
Go to Admin>Code Mapping, click on each category under ‘Code Mapping’.

Click Edit on any codes you see in red that says ‘unmapped’
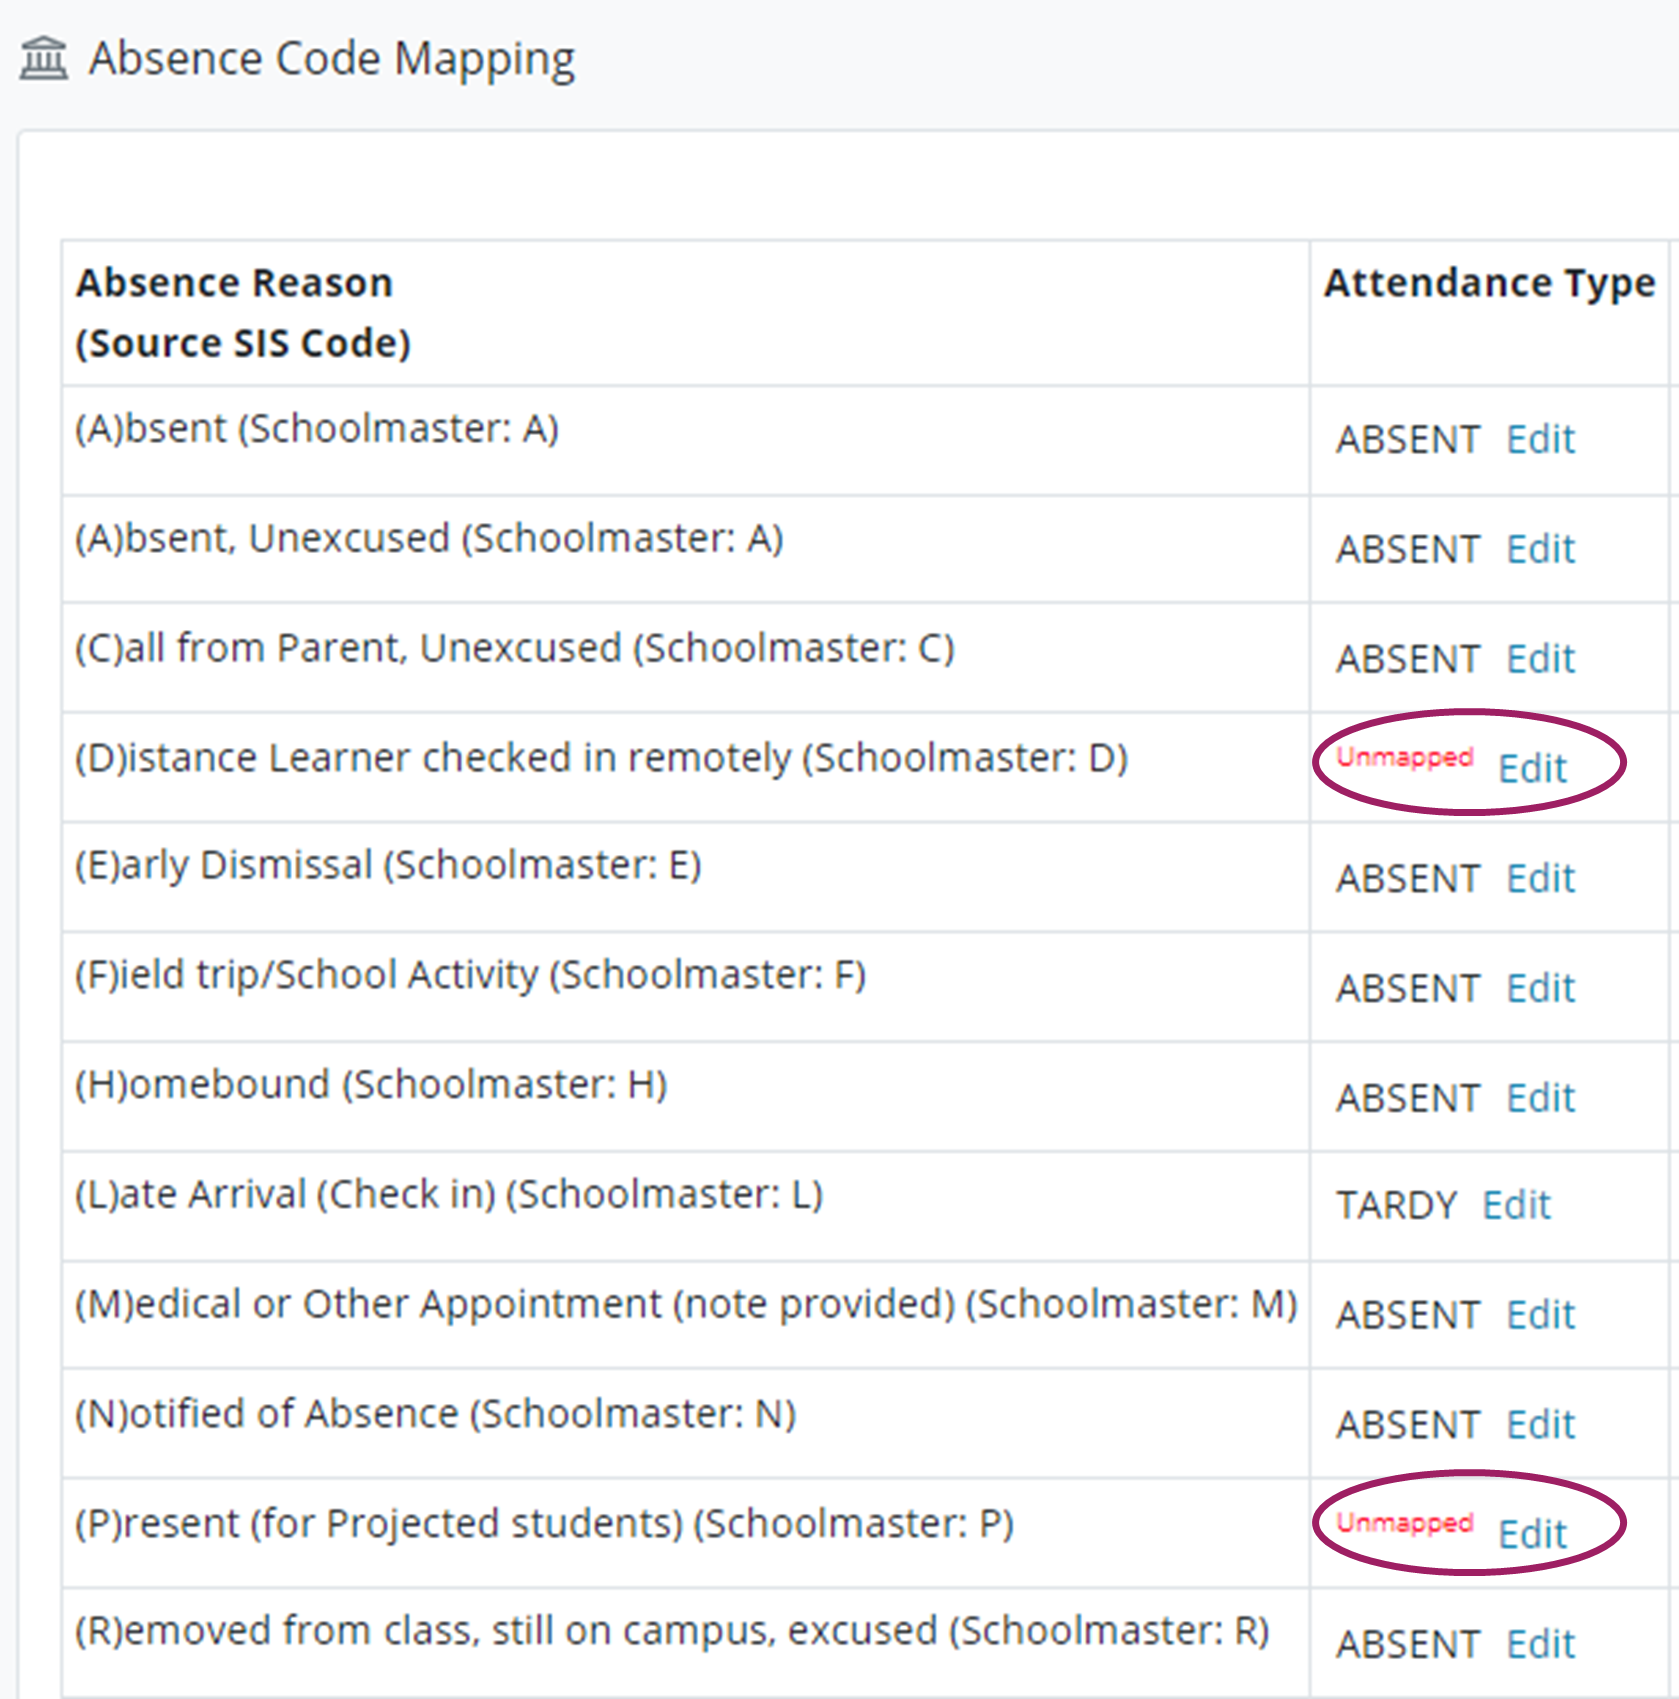
Selecting your changes from the drop-down list and click ‘Update’ to complete the change.

This will assure that your data is displaying correctly in the Oregon Data Suite. Categories that are not mapped will not display in the dashboard metrics. Changes will be updated with the next build.