The Oregon Data Suite offers users the ability to easily create a custom group of students that can be filtered on.
-
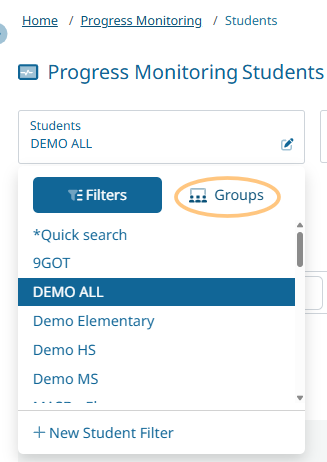
On either the Progress Monitoring Screen, the Any Dashboard, or the Reports screen, navigate to the student filter tab and select the 'Groups' tab.
-
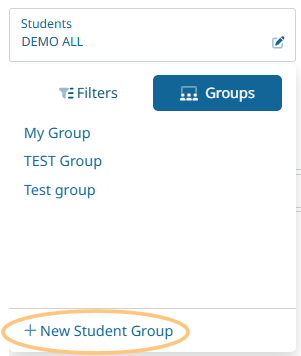
Select '+ New Student Group'
-
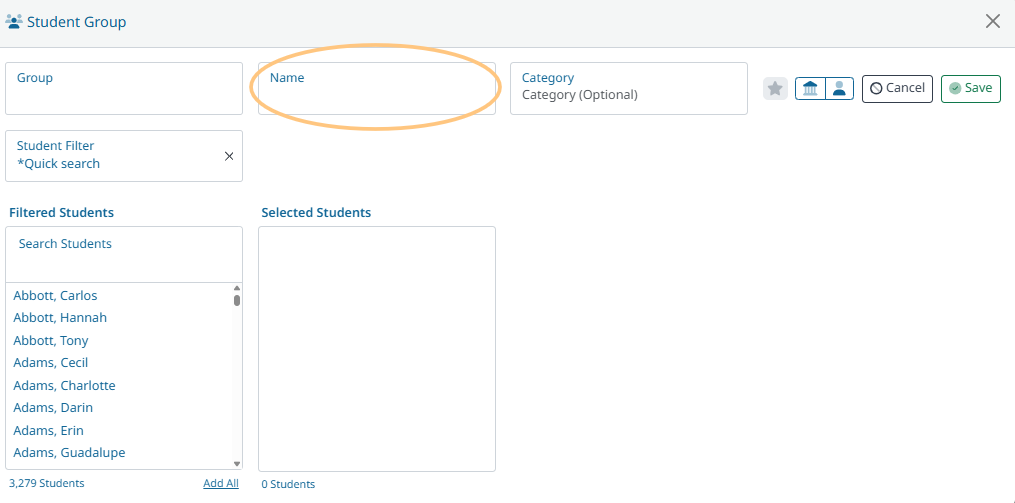
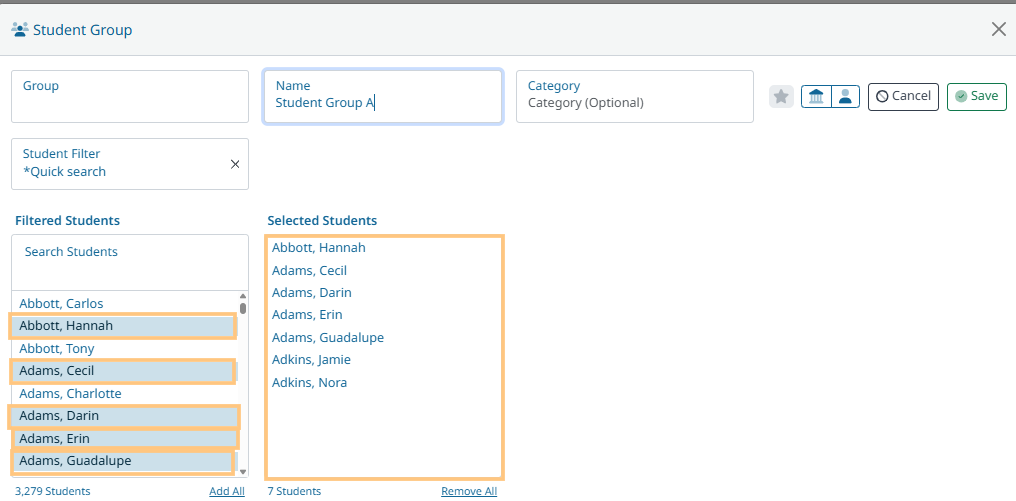
Name the Group Filter
-
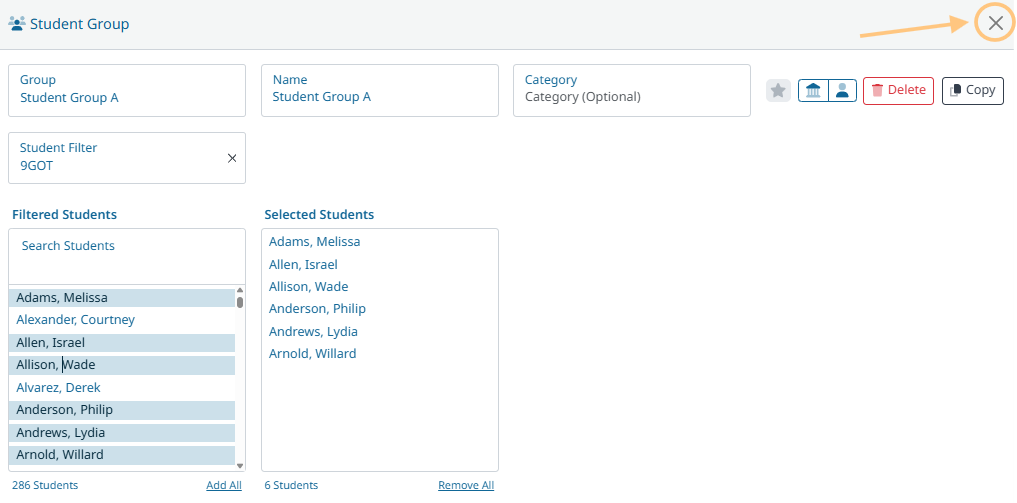
After entering the name of the group, select the students you want in the group by clicking on their name or searching for them in the ‘Search' box.
-
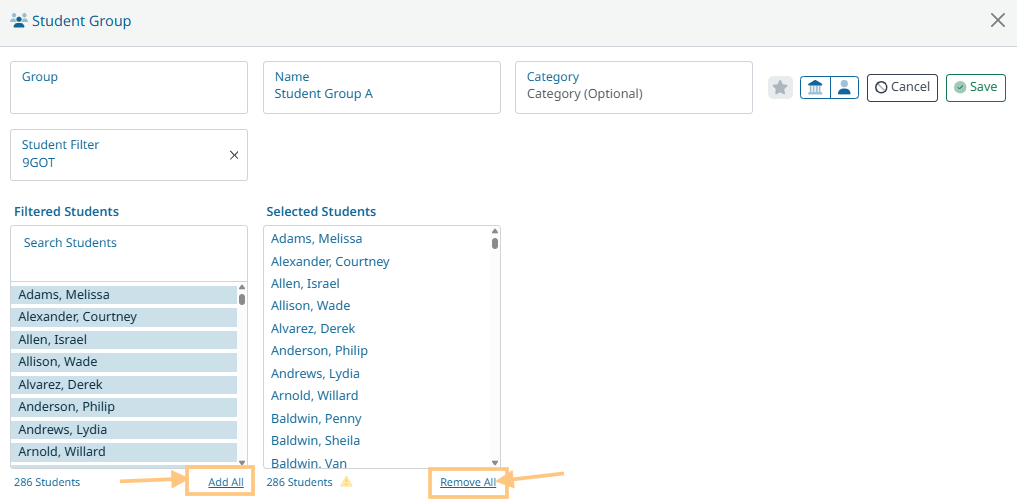
You can also add the entire group by selecting ‘Add All’ and remove everyone from the group by selecting 'Remove All’. To remove a single student from the group, click on their name.
Make sure to click ‘Save' once you are done, ‘Cancel’ if you choose to clear your selections, ‘+Student Group’ to add another group, or 'Close X’ to close the screen.