Update your ODS Accounts
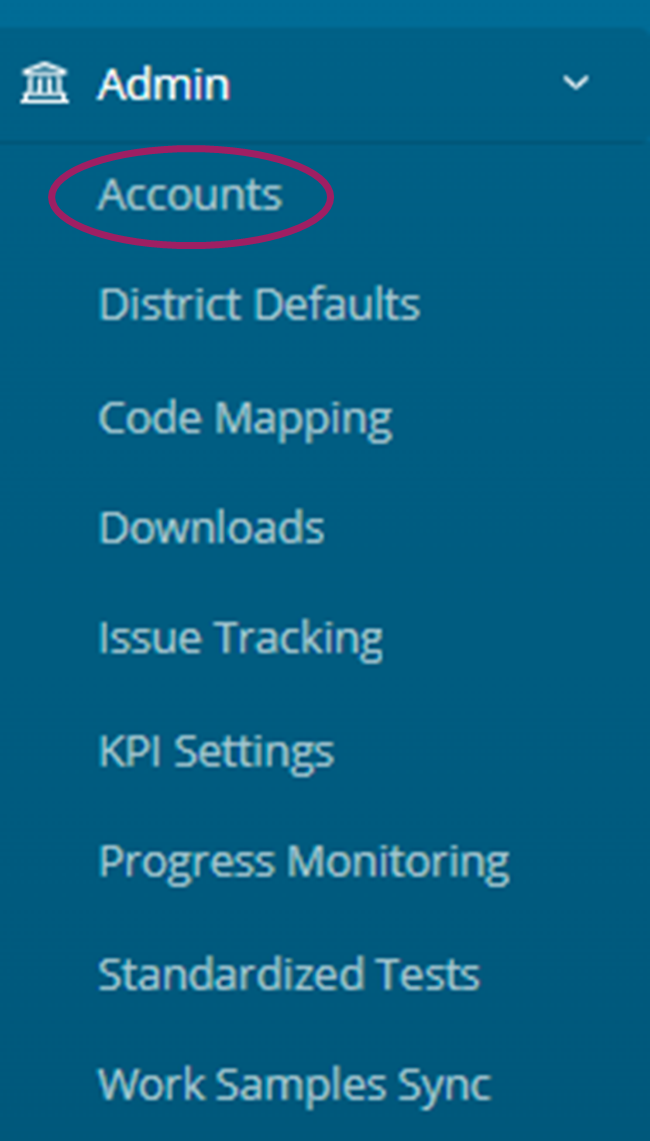
Go to Admin > Accounts.
Export your current list of users by clicking the ‘Enabled Accounts Only’ box and clicking on the blue export icon under the list of names on the left.
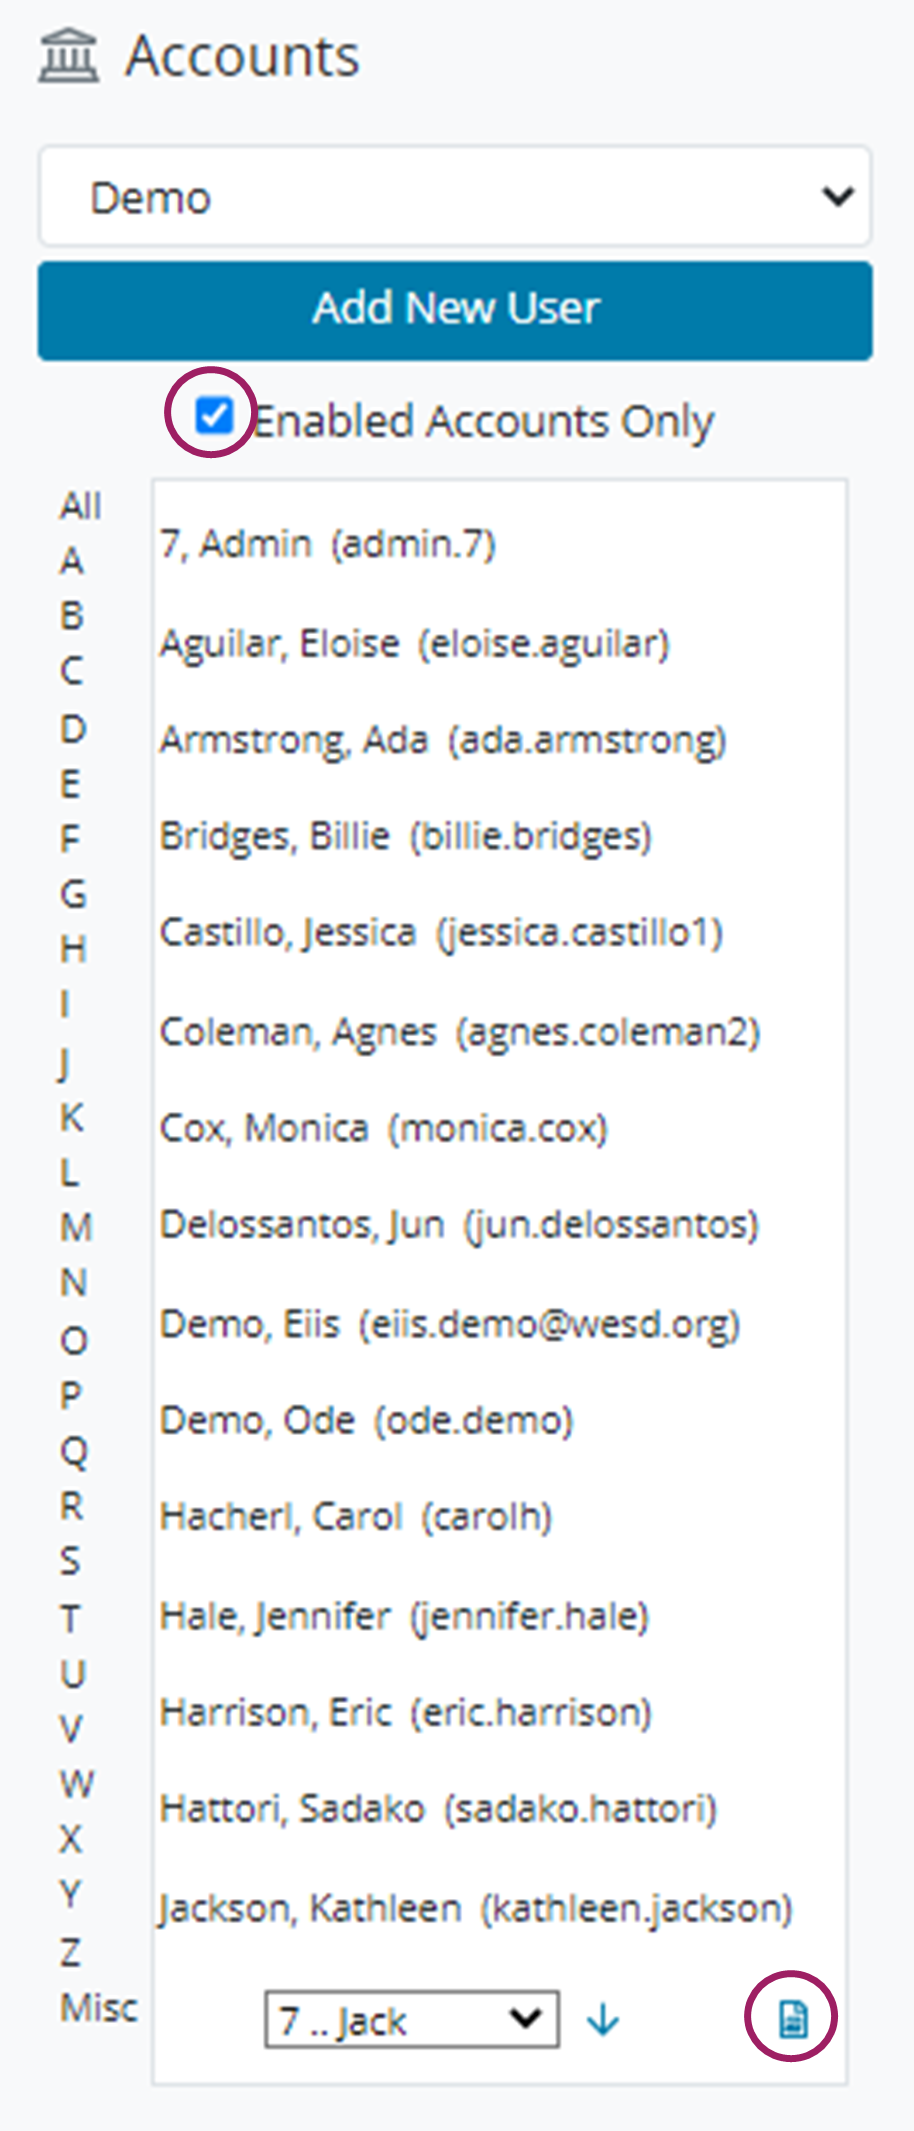
By exporting this list it will allow you to locate accounts that need to be disabled.
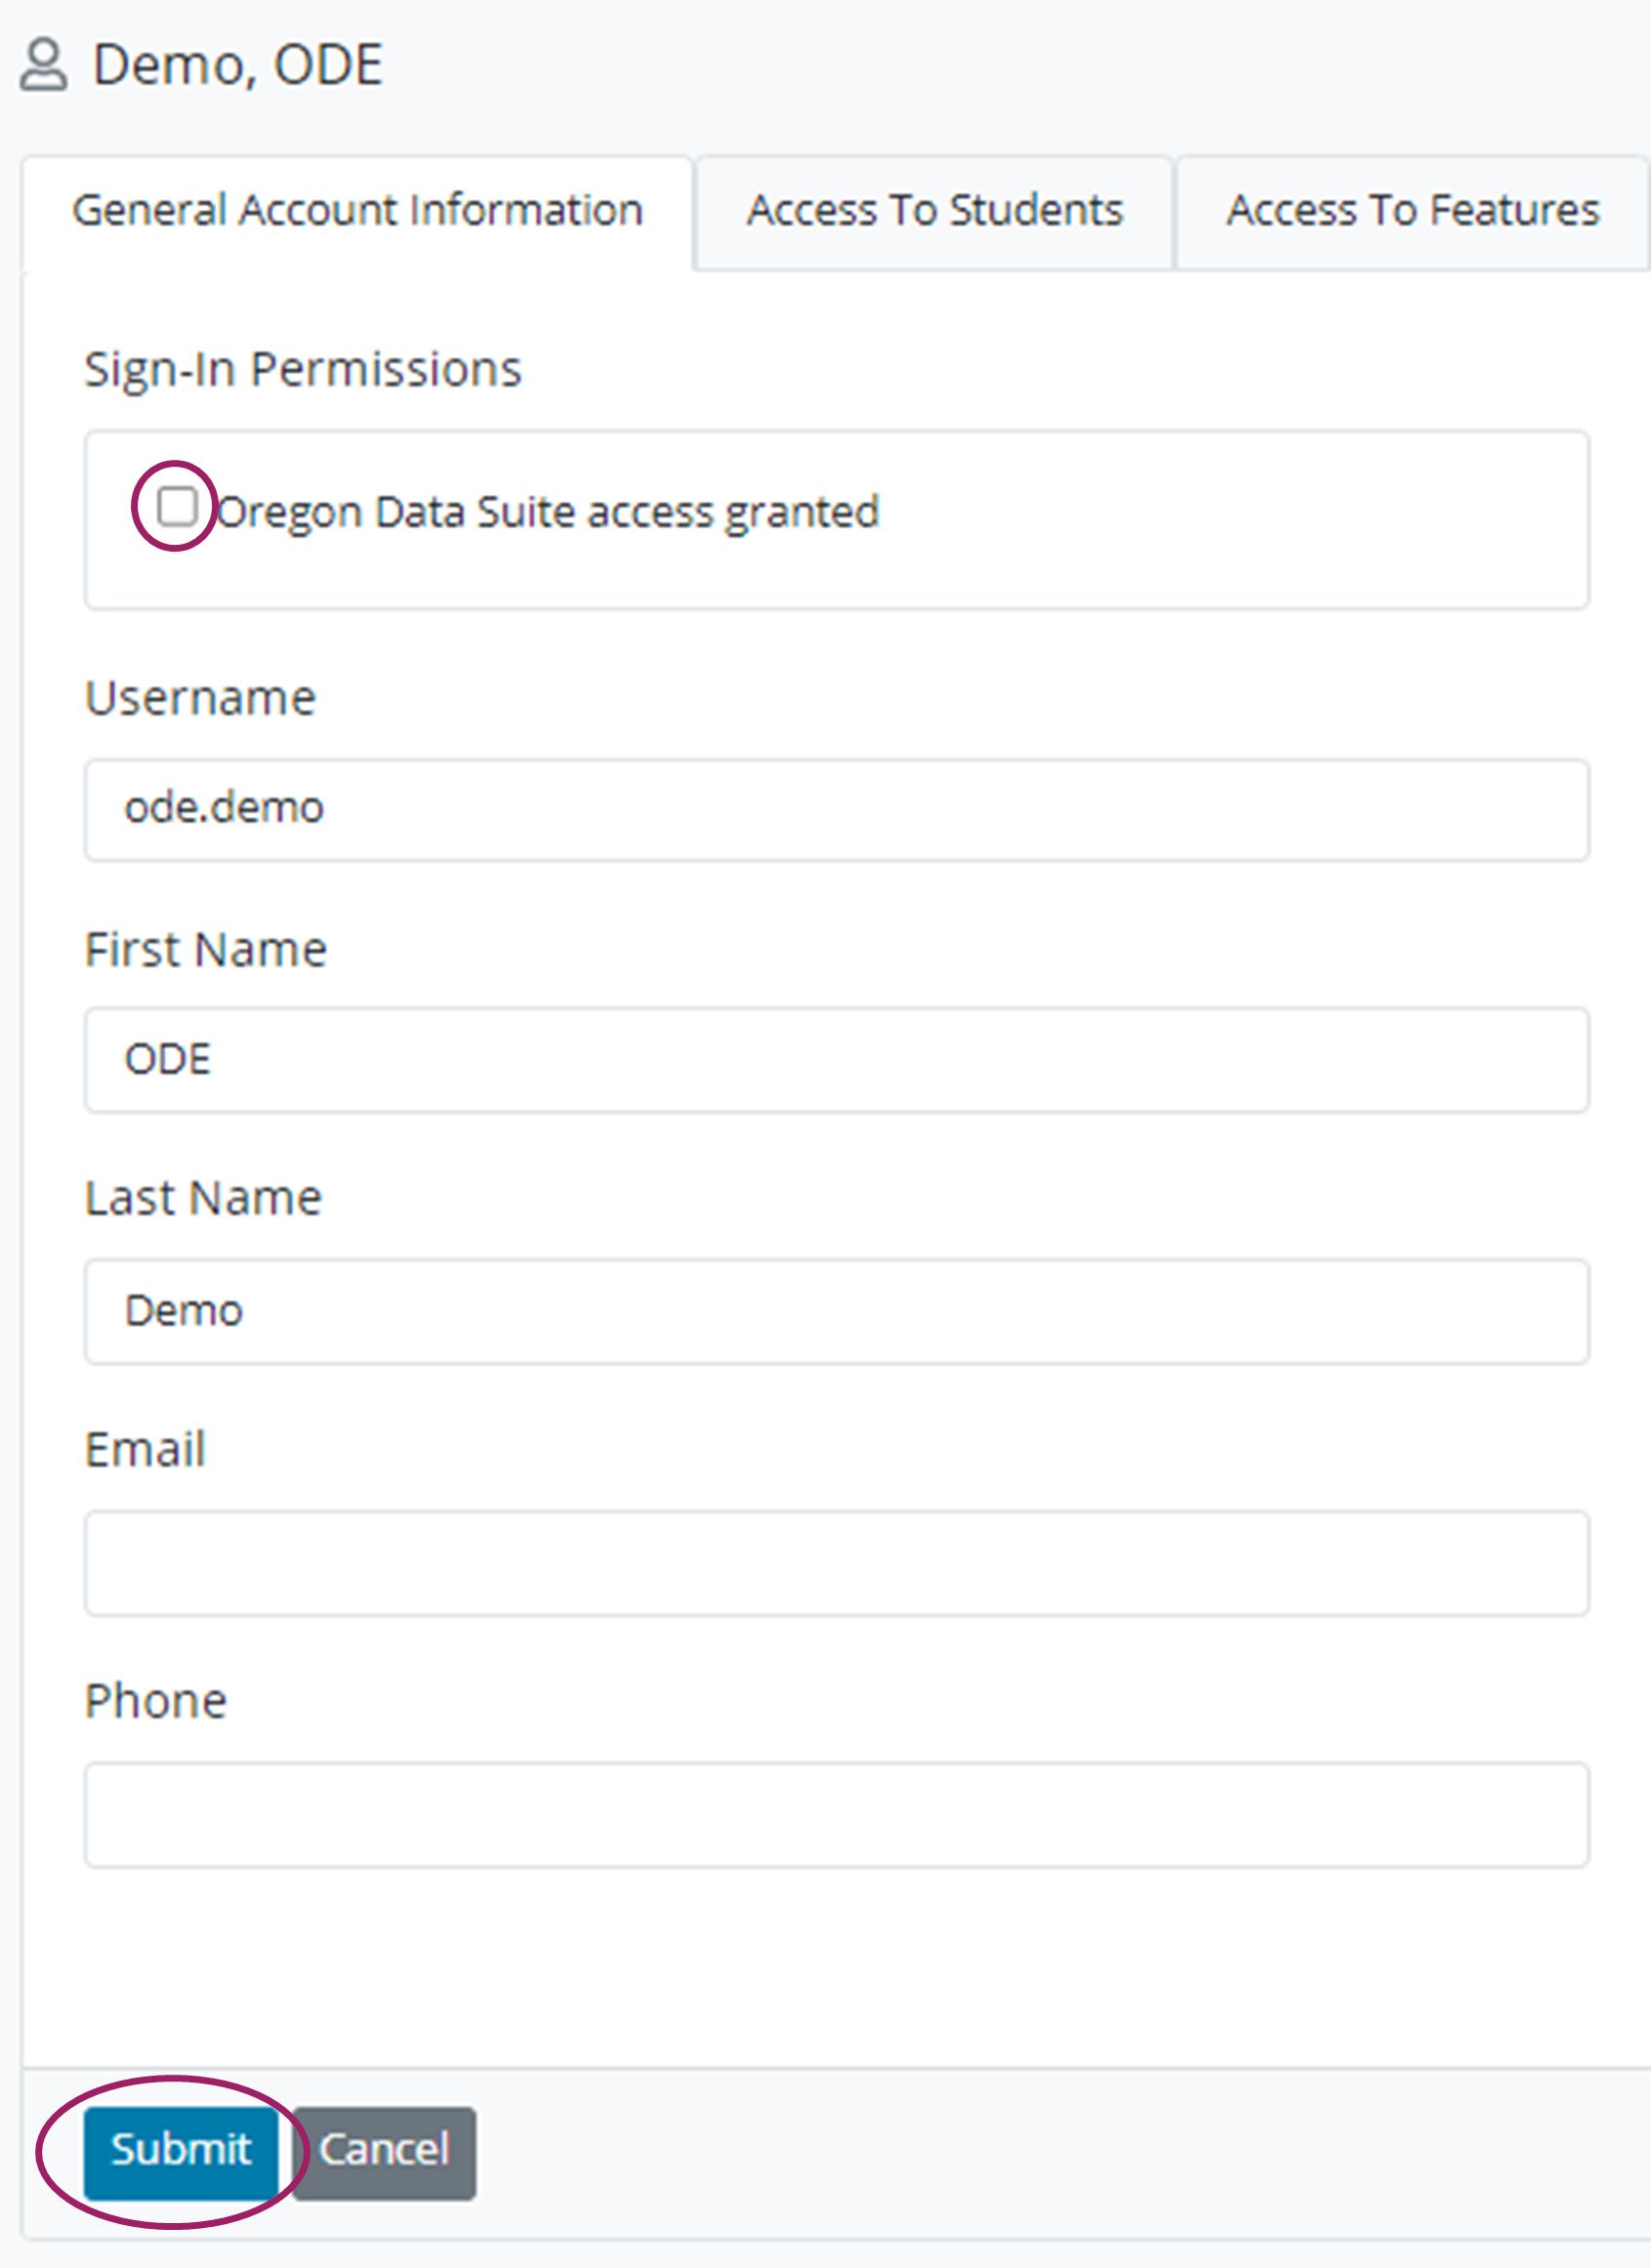
Staff with manually created accounts no longer with your district can be disabled by clicking on their username, clicking and unchecking the ‘Oregon Data Suite access granted’ box on the ‘General Account Information tab, and clicking ‘Submit’ at the bottom of the page.
This works for any account that was manually created.
To disable or enable an account that was auto-created, select the ‘Manually maintain’ box and check or uncheck ‘Oregon Data Suite access granted’.
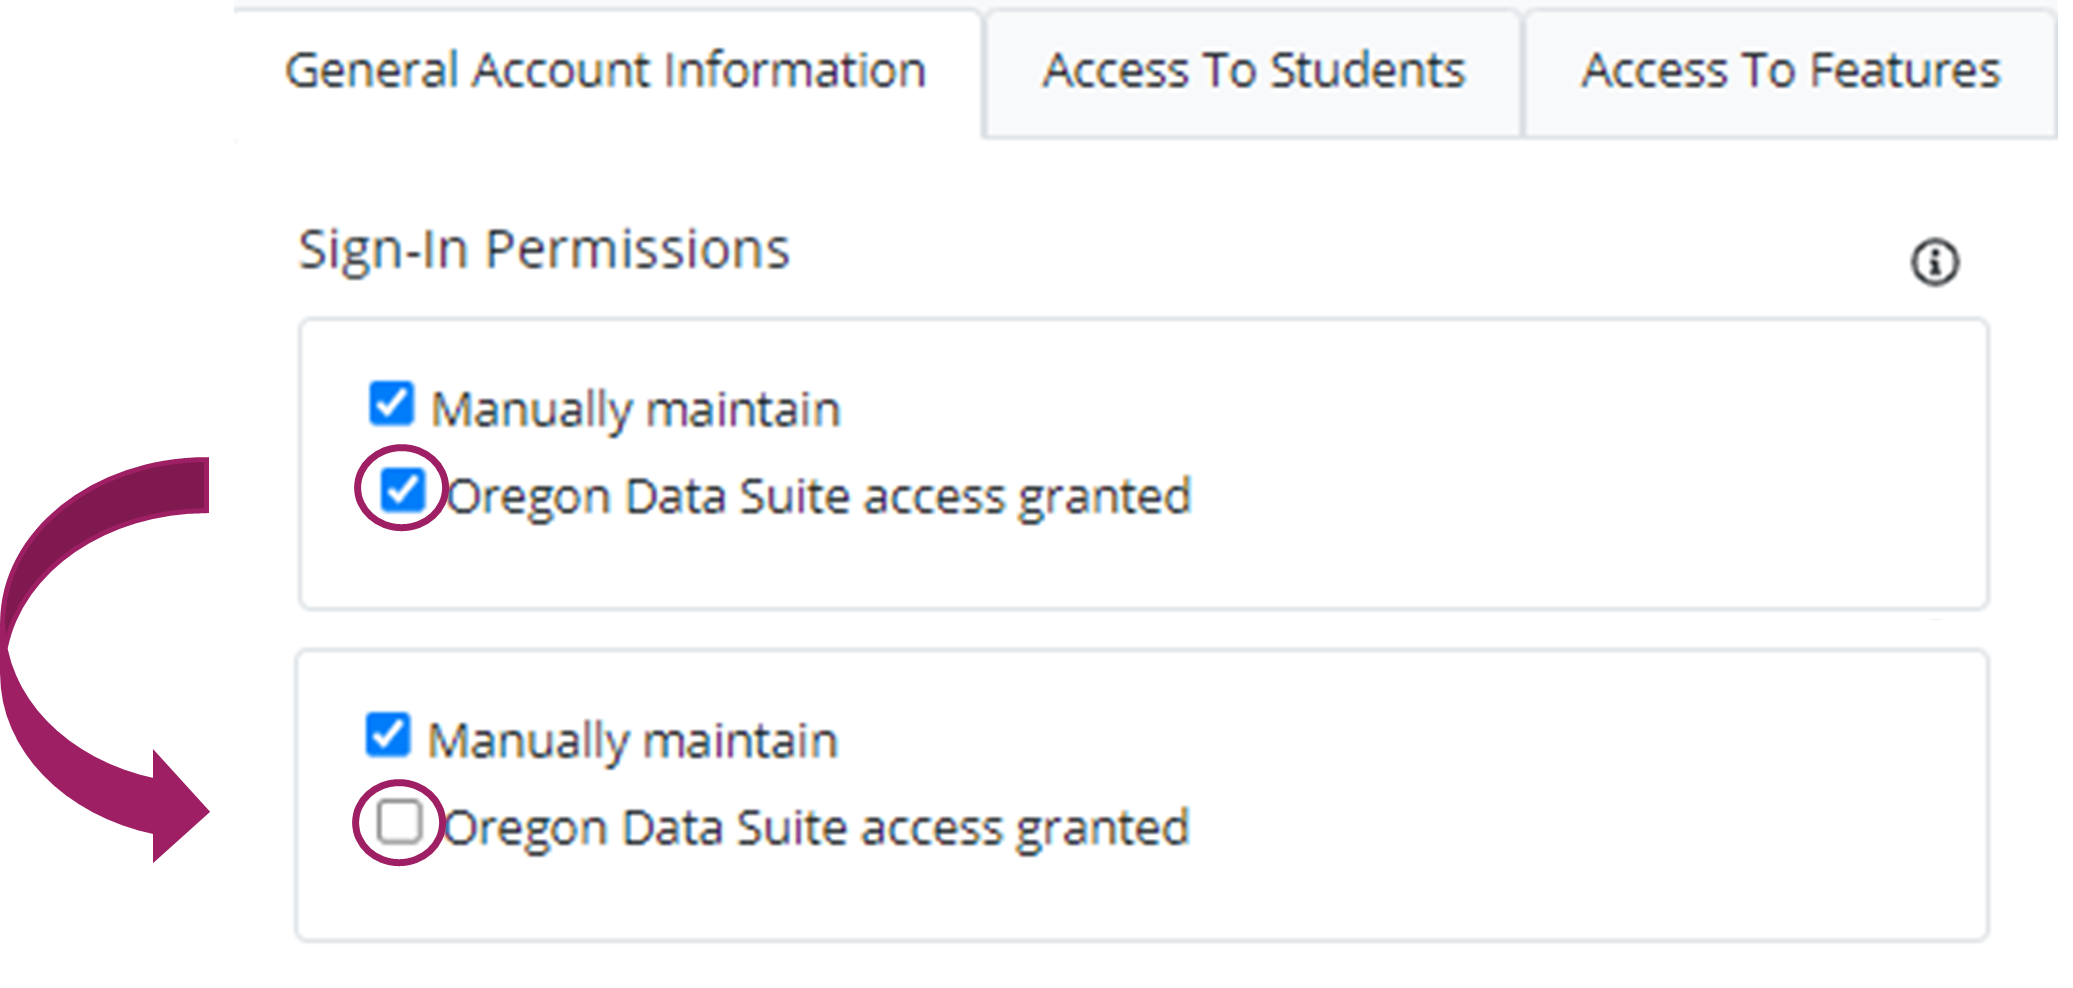
Click ‘Submit’ once your selections are complete.
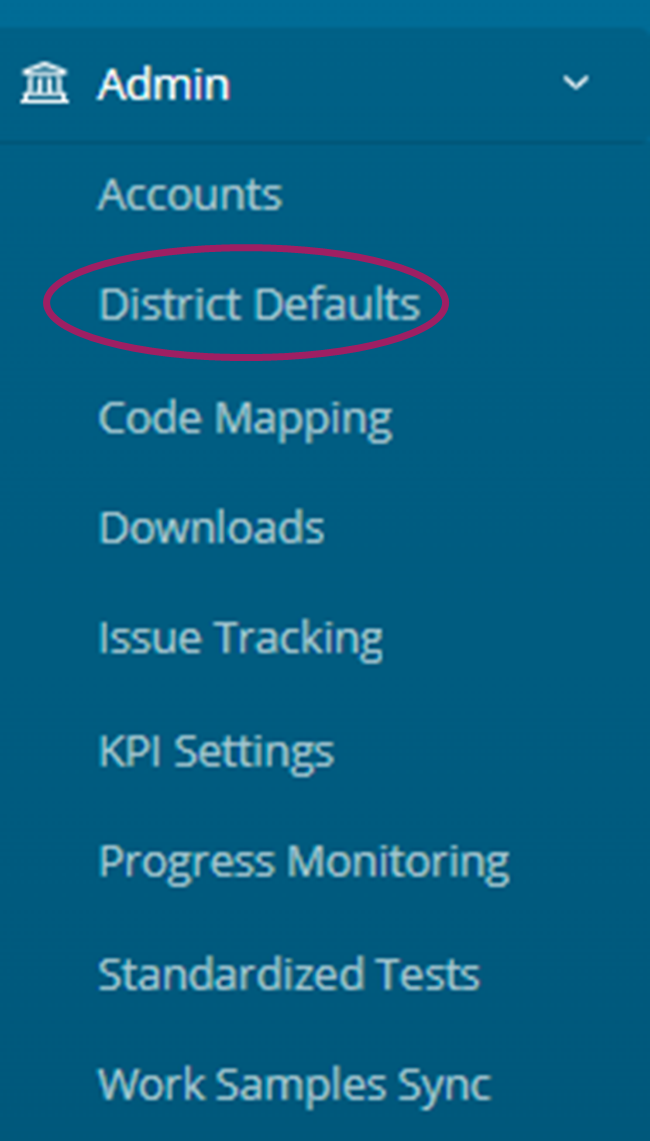
Update your District Defaults
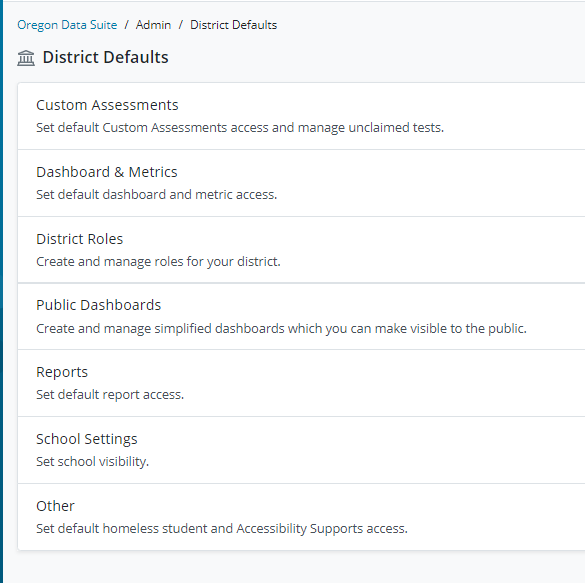
Go to Admin > District Defaults, and click on each category to check the current setup and access. Click on edit to make changes and updates.
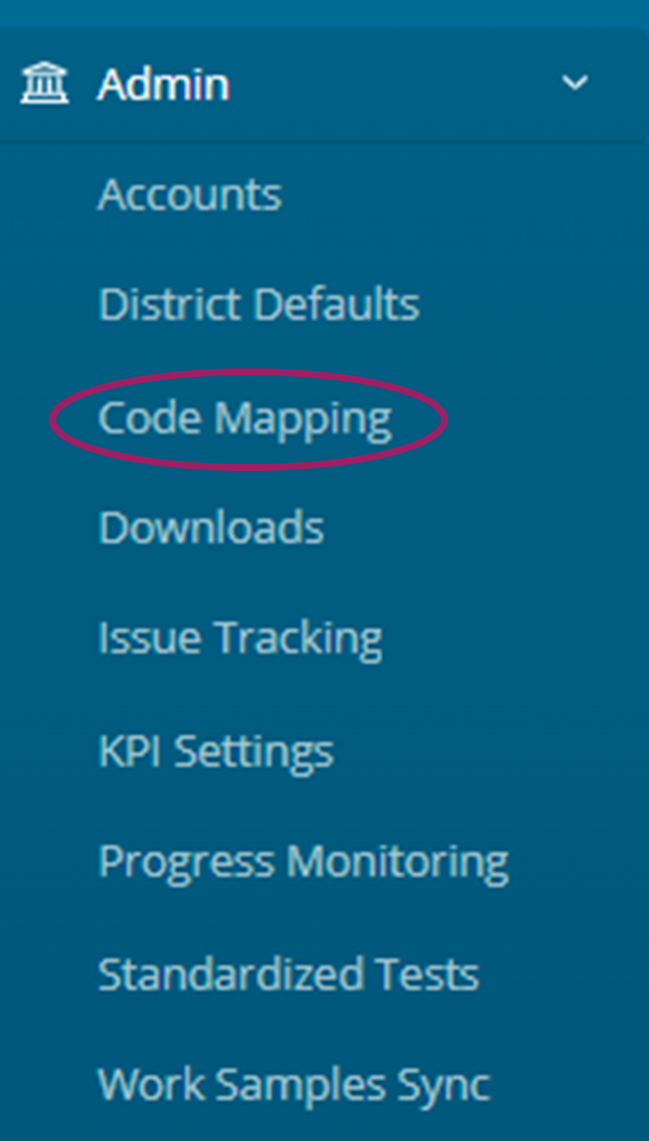
Check your Code Mapping
Go to Admin>Code Mapping, click on each category under ‘Code Mapping’.
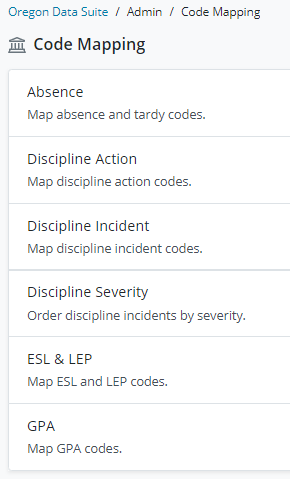
Click Edit on any codes you see in red that says ‘unmapped’
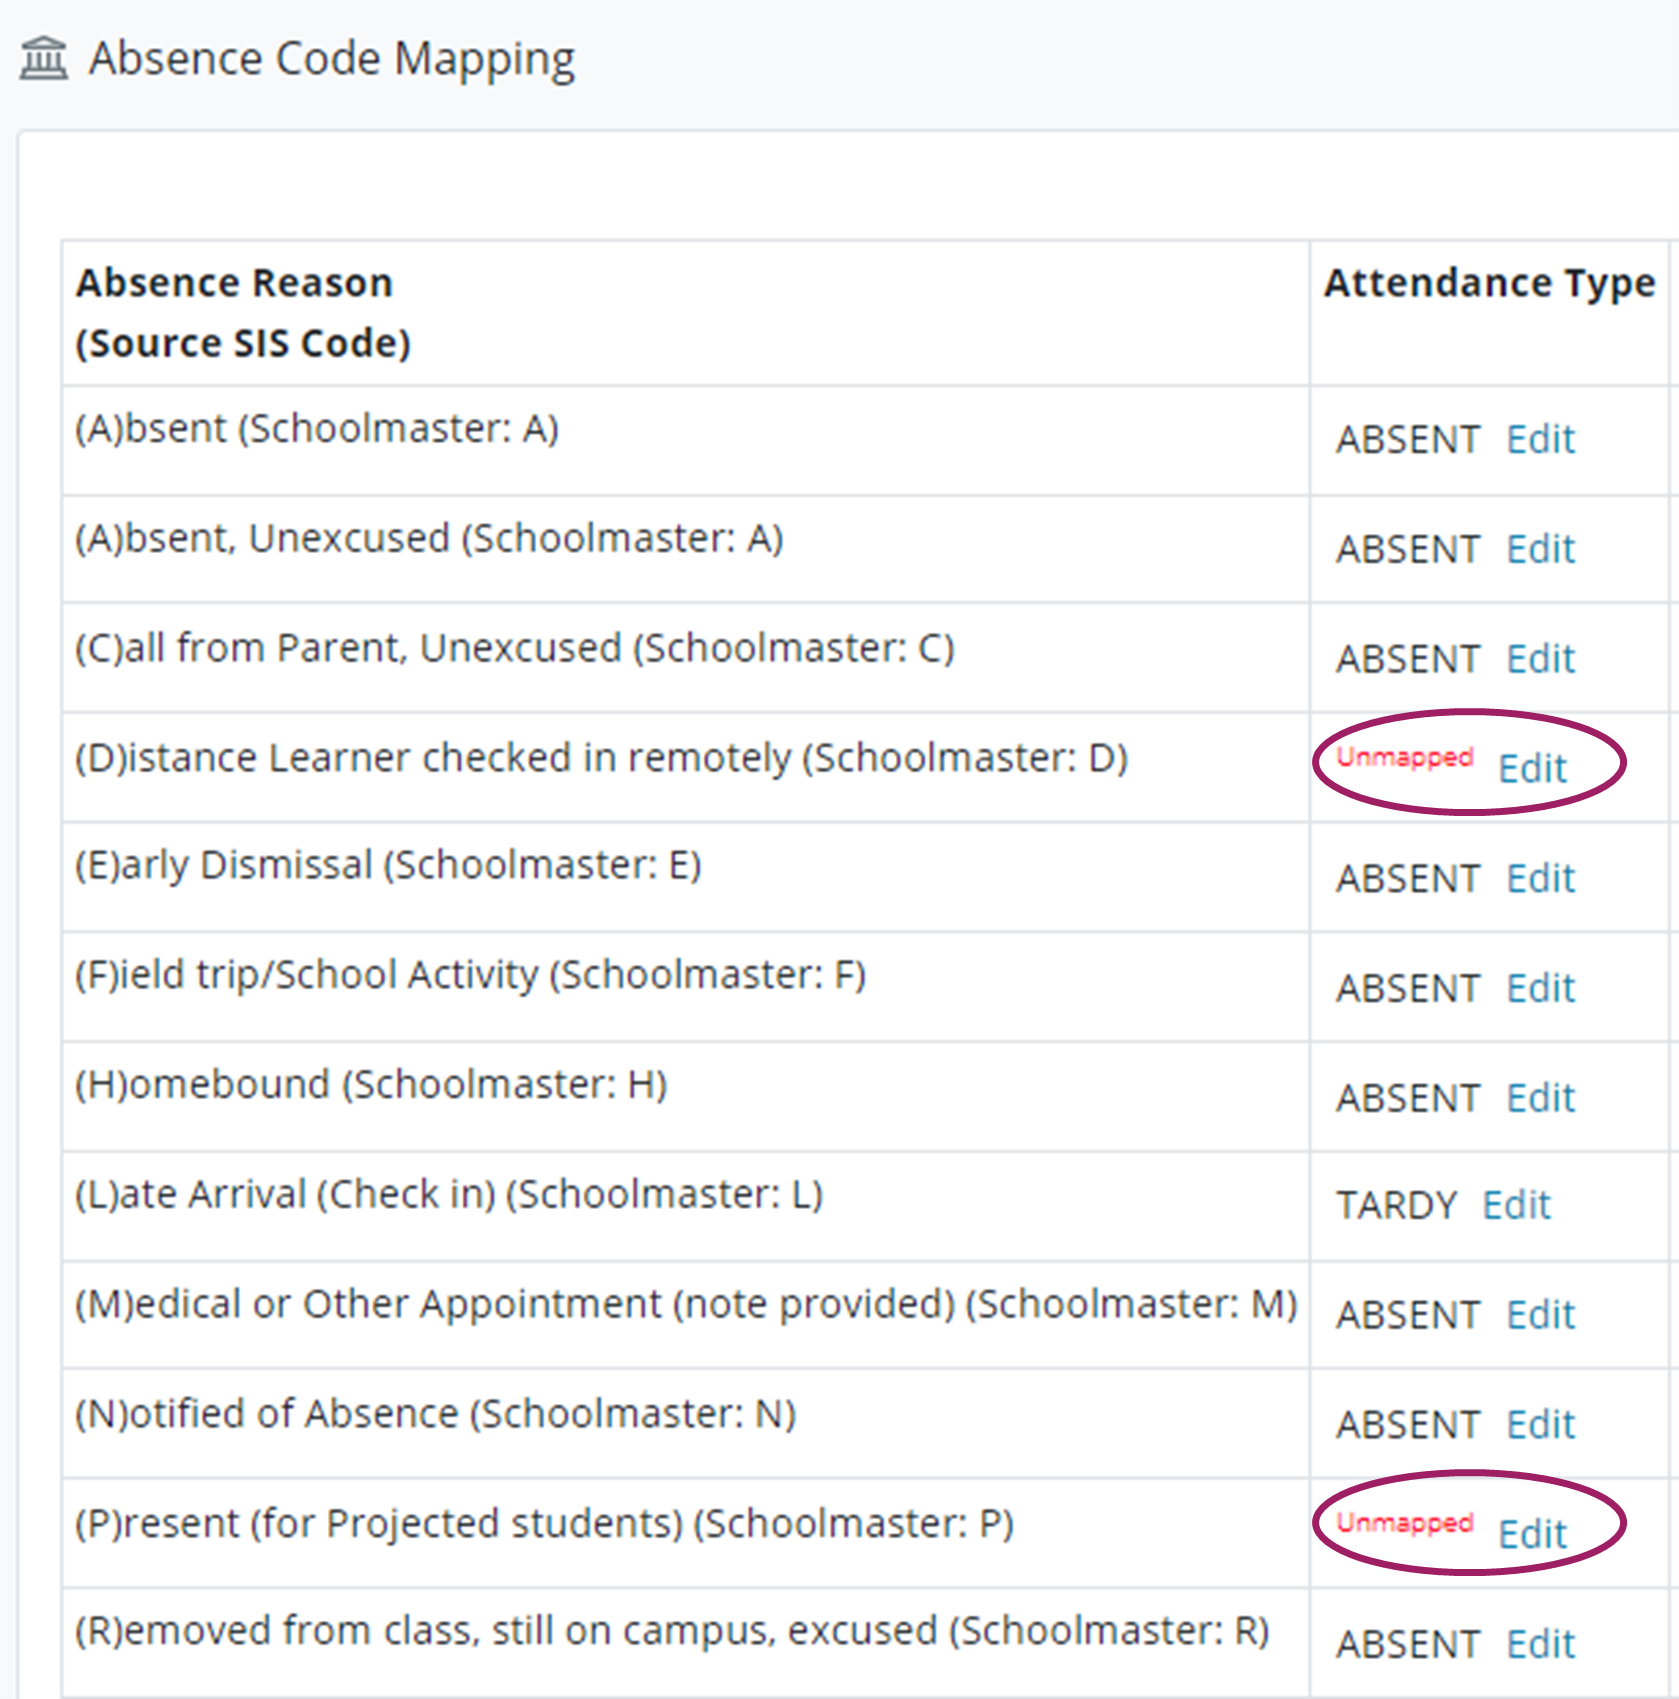
Selecting your changes from the drop-down list and click ‘Update’ to complete the change.

This will assure that your data is displaying correctly in the Oregon Data Suite. Categories that are not mapped will not display in the dashboard metrics. Changes will be updated with the next build.
Upload your PSAT, SAT, AP, and ACT scores from the College Board-Essential Skills will not be required for the 2021-22, 2022-23, and 2023-24 school years.
To upload test results from the College Board to the Oregon Data Suite, you must download the file from the College Board. The file name should remain unchanged, and PSAT, SAT, and AP should be in .csv format. The ACT should be in .txt (ascii) format. Once you receive the file, go to Admin > Standardized Tests, select the correct test type, browse for your file, and click ‘Upload’. You will receive an email once your file has been processed, you will then verify your records by clicking on the file name. You can verify all students a page at a time, or 1 by 1. If you have an unverified record that you need to verify, simply click on edit to add the Student ID, and click update. All verified records will be included in the Essential Skills Metrics and Reports.
You can download or view your data by selecting the test type you want, clicking on the Download tab, and selecting the file you want to view or download. You can also enter individual test results by clicking on the Data Entry tab.