Accessing the System
-
Use ‘Sign in with Google’ if you have a district Google account that uses your work email address.
-
Your Username will be your email address or firstname.lastname, check with your district administrator to find out what version your district is using.
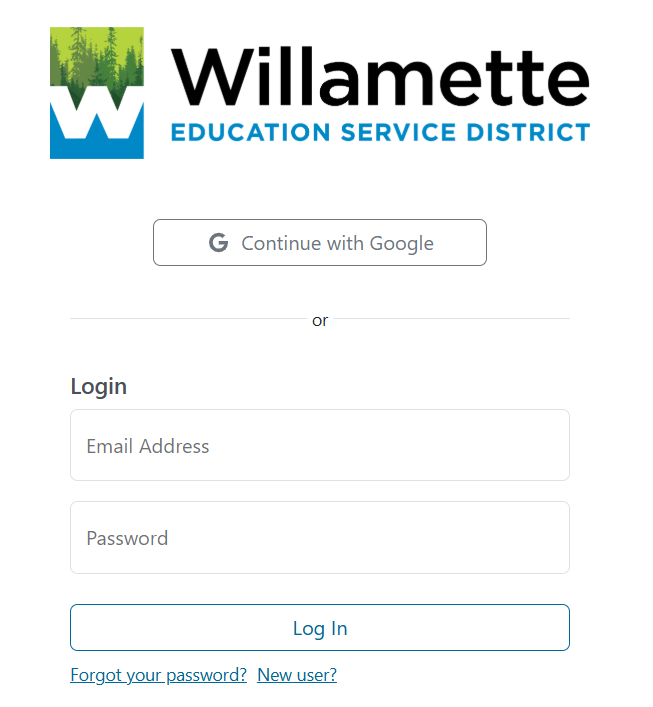
Forgot your password?
-
If you don’t know what your password is, click on ‘Forgot your password?’. Fill in your email address and click ‘Submit’, your password will be emailed directly to you.
-
Please update your password after you log in for the first time.
Pages & Filters
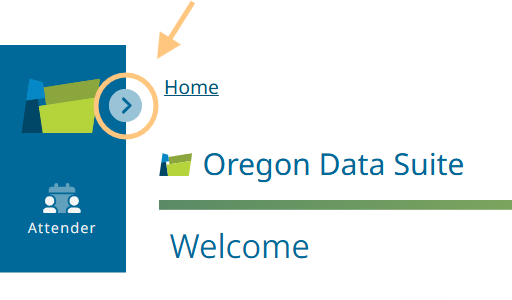
Your pages will appear on the left side of your dashboard. You can expand and collapse the pages by clicking on the arrow.
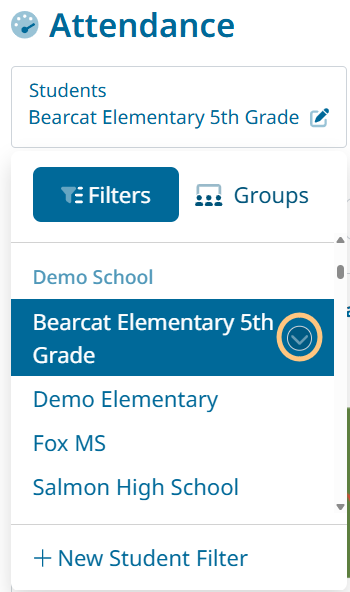
We have created pre-defined filters based on your security rule that are available by clicking on the filter dropdown and selecting your filter.
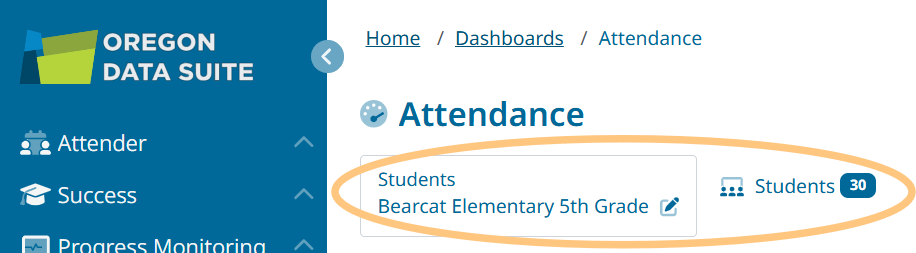
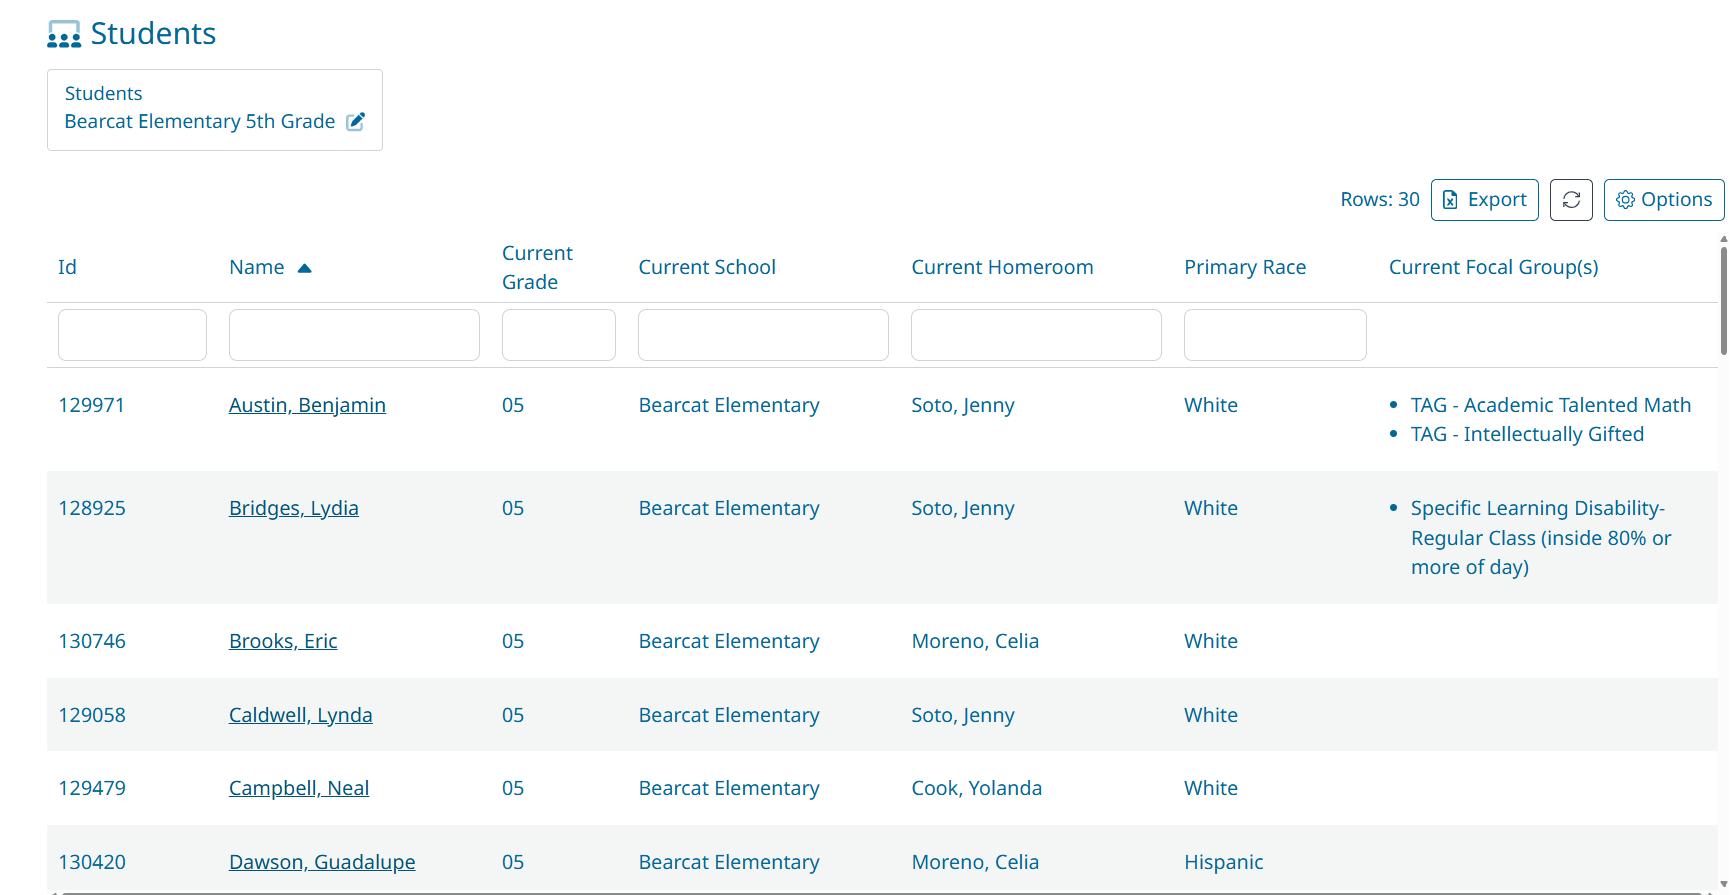
To view the students you have filtered on, click ‘Students’ next to the filter dropdown. This will create a list and a count of students. You can still view individual student data by clicking on the student's name. The header rows are now all sortable.
Filters
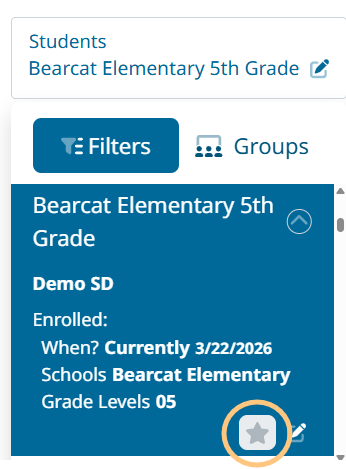
When you hover over the filter you're going to select, you can click on the down arrow to see the criteria for the filter-
Make the filter a favorite by clicking the star icon.
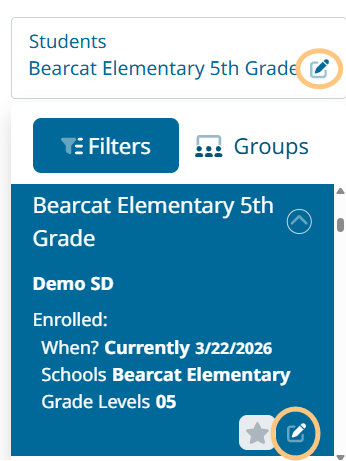
Click the paper and pencil icon next to the star to make a copy or change your filtering options.
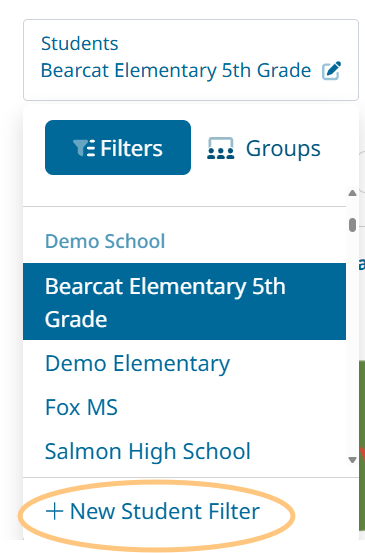
To create a new filter, click the +Student Filter at the bottom of your predefined filter options.
|
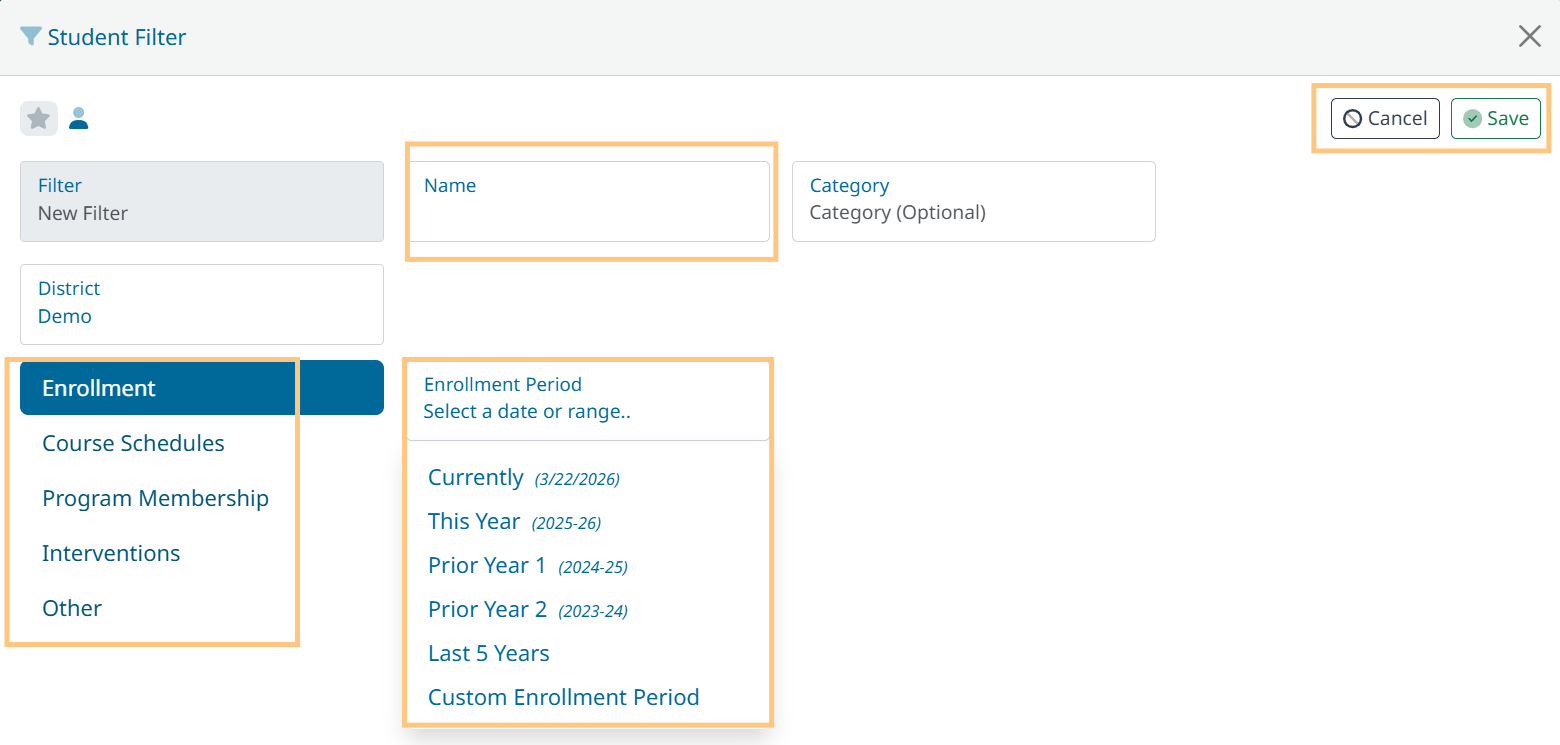
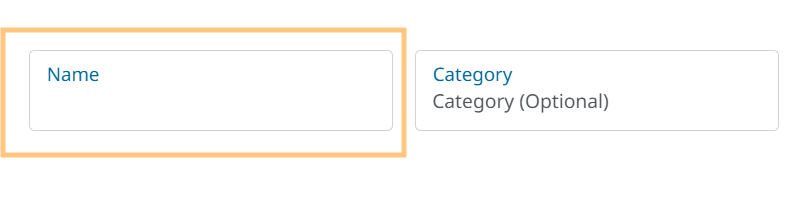
Give your new filter a name and category (optional). |
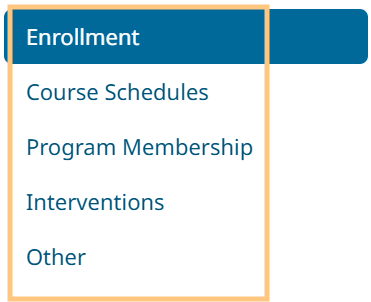
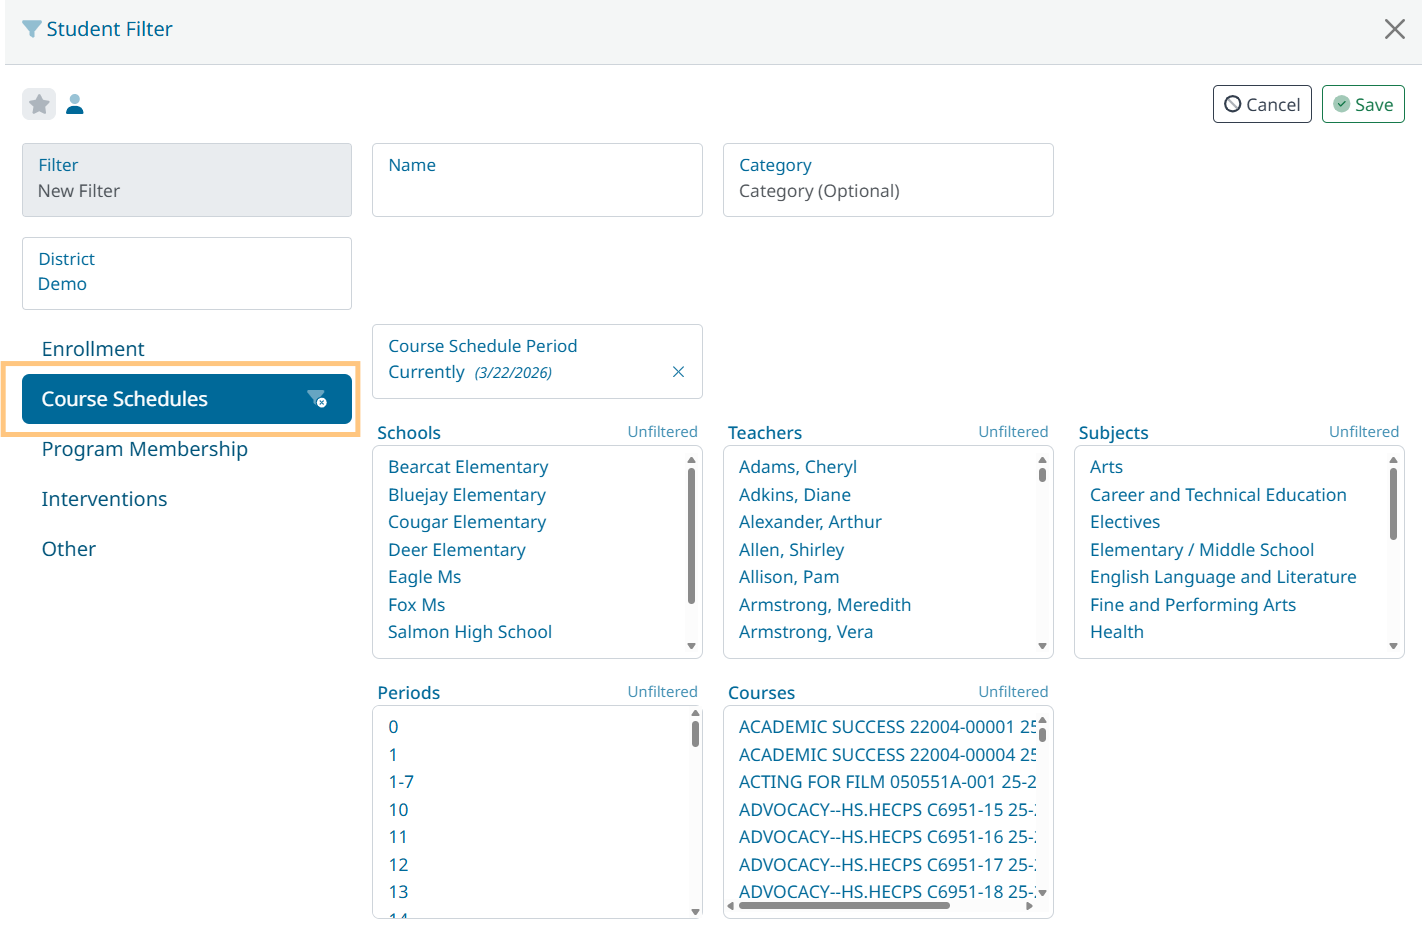
Make your filter selections from Enrolled, Scheduled, Program, or Other. |
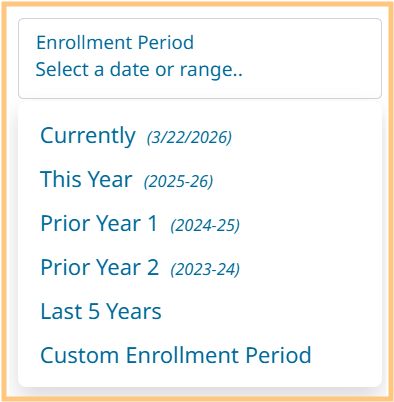
Click the “Select a date or range” drop-down menu and choose your filter date. |
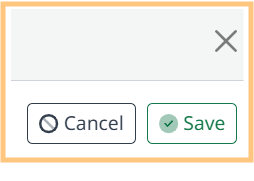
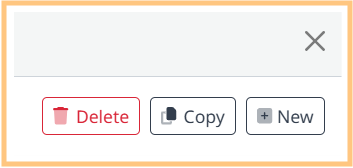
Click ‘Save’ to save or click ‘Cancel' to cancel, and then click ‘X’ to close the filter box. Once you’ve saved your filter, you will be able to ‘Delete’, ‘Copy’, or Create a ‘New’ filter. |
|
|
|
|
Filtering tips
Click Scheduled to filter by Teacher, Course Subjects, Period, or Course.
Click Program to view program information.
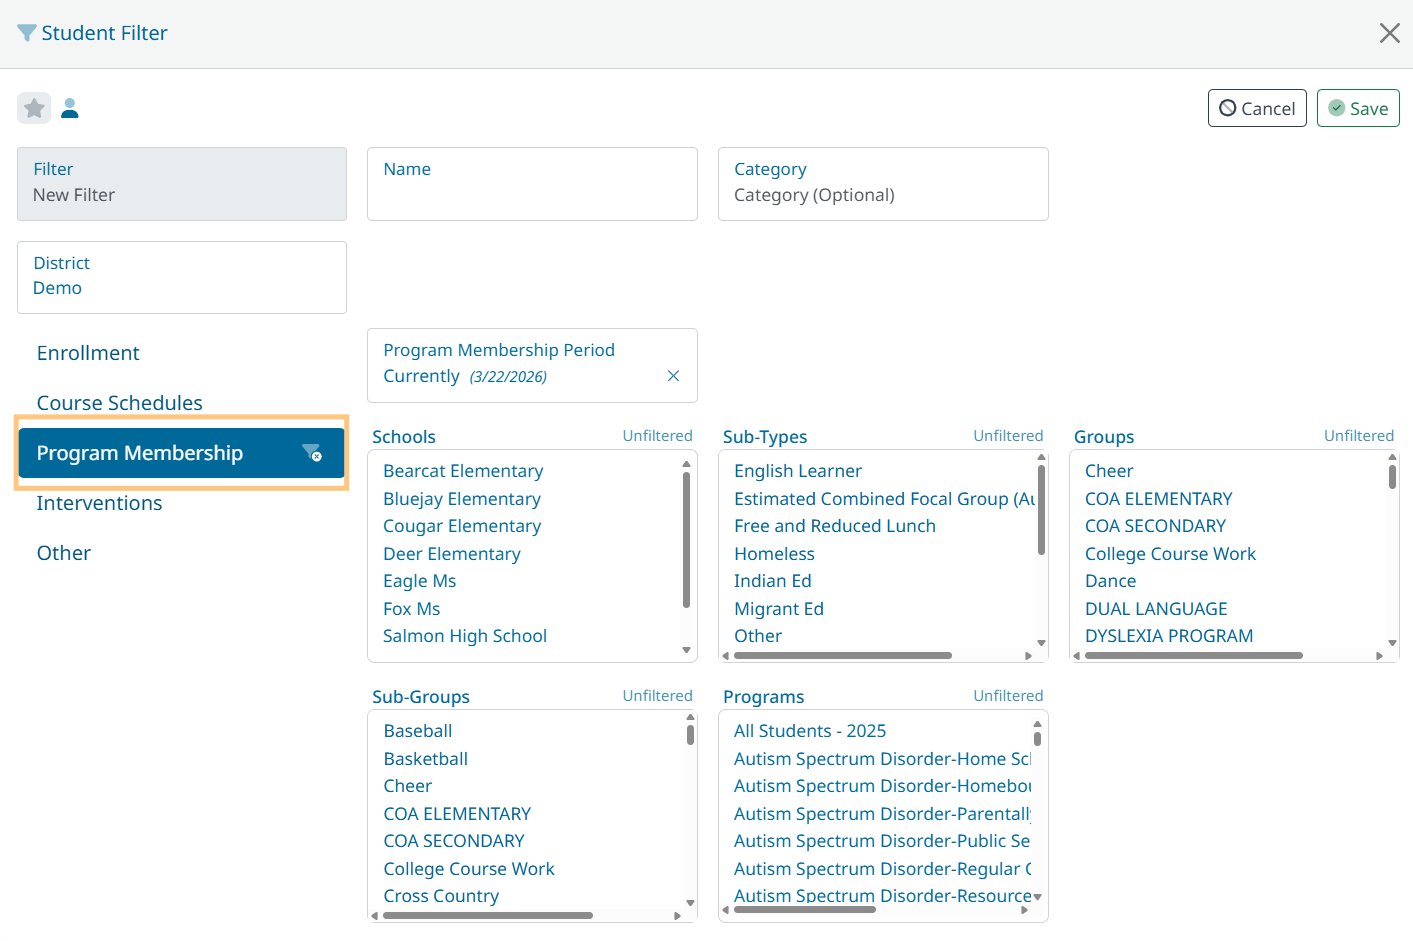
-
Pare down students by when they were enrolled, scheduled, or in a program. You can filter by more than one area, but it’s not necessary.
Click ‘Interventions’ to filter on students in Interventions.
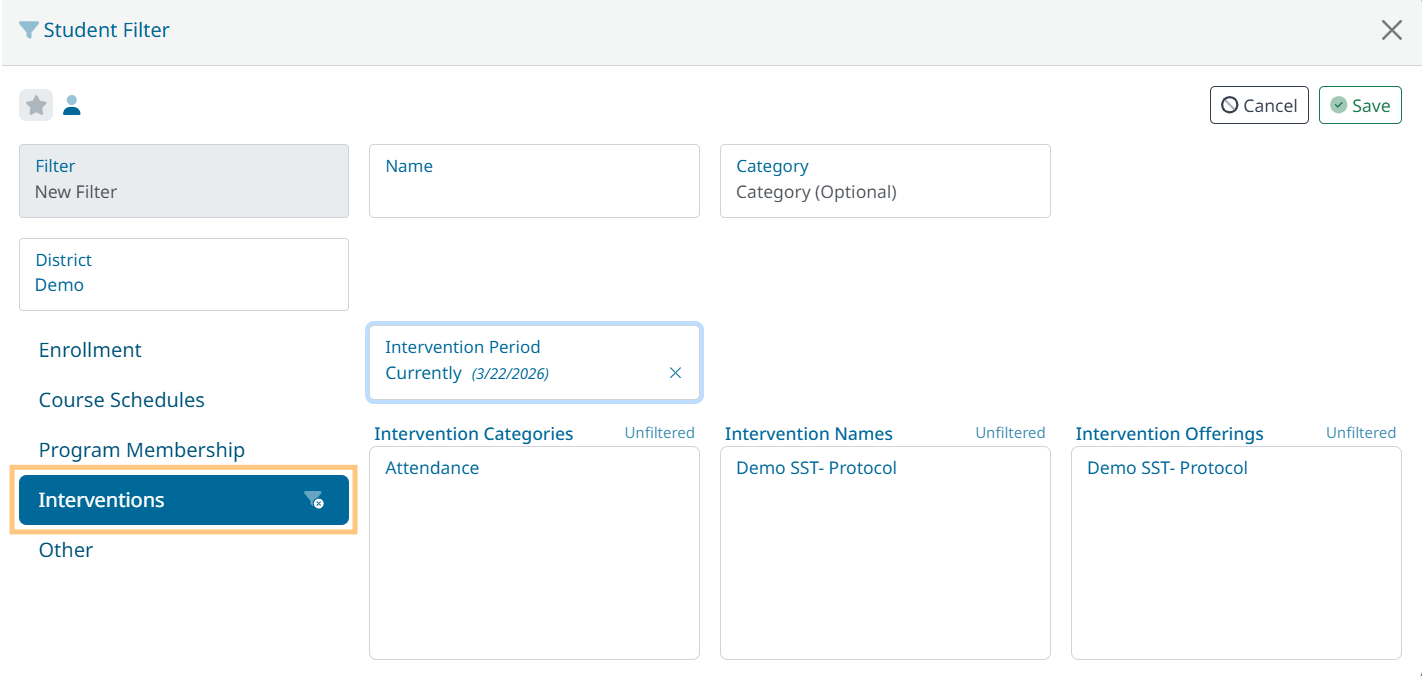
-
You can view current year interventions or adjust your When? to show prior years.
Click ‘Other’ to filter on LEP, Gender, Race, HS Entrance Year, or Counselors.
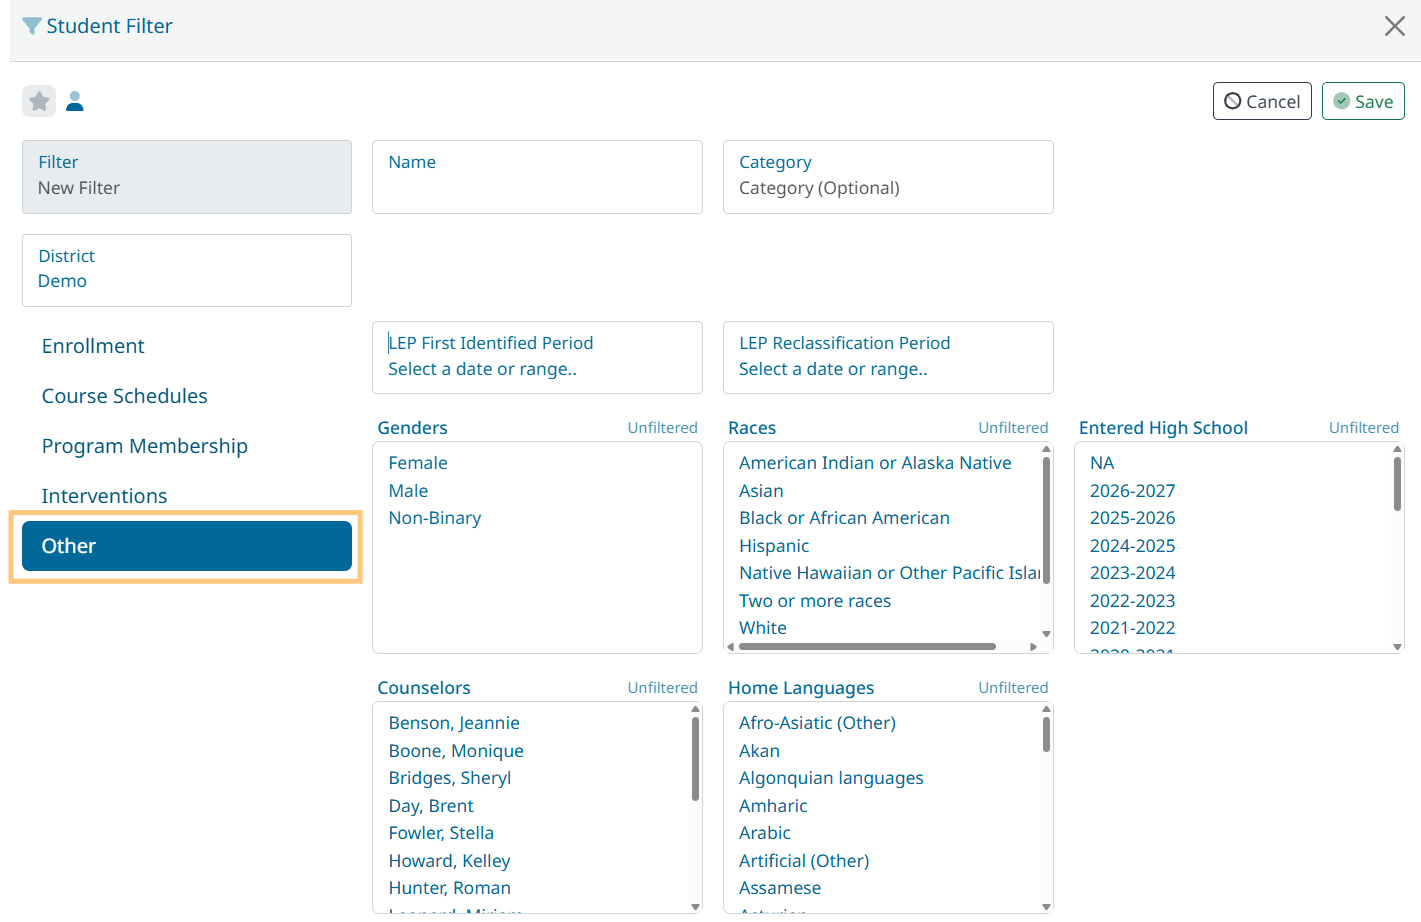
We recommend you include a filter on the date in one of the tabs- Enrolled, Scheduled, or Programs.
Groups
The Oregon Data Suite offers users the ability to easily create a custom group of students that can be filtered.

-
Go to your predefined filter tab and click the ‘Groups’ tab.
-
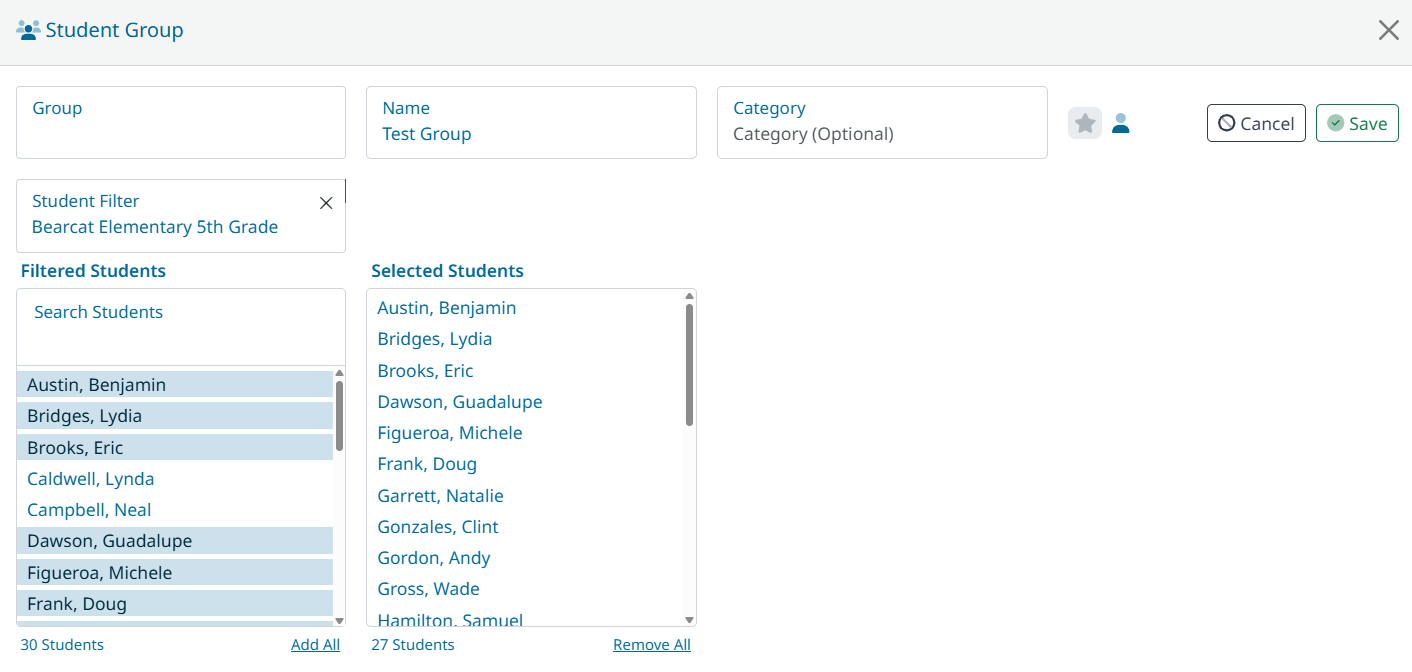
Click ‘+ New Student Group’, and give your group a name.
-
After entering the name of the group, select the students you want in the group by clicking on their name or searching for them in the ‘Search’ box. You can also add the entire group by selecting ‘Add All’ and remove everyone from the group by selecting ‘Remove All’. To remove a single student from the group, click on their name. Make sure to click ‘Save’ once you are done, ‘Cancel’ if you choose to clear your selections, or ‘X Close’ to close the screen. Once you have saved your group, you can delete it.